
If you drive, you will eventually face a flat tire or need quick tire removal on the side of the road or in your driveway. Knowing how to safely remove a tire isn’t just a “nice to have” skill—it can save you time, money, and stress, and in some cases even keep you out of danger.
This guide breaks down the most useful, easy-to-learn tire removal tips and DIY hacks every driver should know, even if you’ve never held a lug wrench before.
Why Every Driver Should Master Basic Tire Removal
Towing services are helpful, but they can be slow, costly, and sometimes unavailable in remote areas or bad weather. Being able to perform basic tire removal yourself offers several key benefits:
- Safety: You’re not stranded on the roadside waiting for help.
- Savings: No emergency service fees for something you can fix in 15–30 minutes.
- Control: You can inspect and address minor tire issues on your own schedule.
- Confidence: You’re prepared, not panicked, when a tire problem appears.
Modern vehicles are heavy and complex, but the fundamentals of removing a tire haven’t changed much. With a few simple tricks and good preparation, most drivers can handle it.
Essential Tools for Safe, Simple Tire Removal
Before you can master any tire removal hacks, make sure you have the right tools. Some are usually included with your vehicle, others you may want to add.
Must-have tools (usually in the car):
- Lug wrench (tire iron): For loosening and tightening lug nuts.
- Jack: Scissor or bottle jack (often in the trunk).
- Spare tire: Full-size or temporary “donut” spare.
- Owner’s manual: Shows factory jack points and torque specs.
Highly recommended extras:
- Breaker bar or cross (X) wrench: Gives more leverage than a small factory tire iron.
- Wheel chocks: To block the opposite wheel and prevent rolling.
- Work gloves: For grip and protection.
- Flashlight or headlamp: Critical for night repairs.
- Kneeling pad or old towel: Comfort when working on rough or dirty surfaces.
- Penetrating oil (e.g., WD-40 or PB Blaster): For stuck or rusty lug nuts.
- Torque wrench: To correctly tighten lug nuts after tire installation.
Keep most of these in your trunk or cargo area at all times. You’ll be glad you did when you need fast, stress-free tire removal on the road.
Step-by-Step: How to Safely Remove a Tire
Here’s a clear, repeatable process you can use almost anywhere.
1. Find a Safe Location
Pull over as soon as it’s safe, but prioritize:
- Flat, firm ground: Avoid soft shoulders, grass, or steep angles.
- Visibility: Turn on hazard lights. Use reflective triangles if you have them.
- Distance from traffic: Give yourself as much space as possible.
Engage the parking brake and put the car in “Park” (automatic) or in gear (manual).
2. Chock the Wheels and Prep the Car
Place wheel chocks or large rocks/bricks:
- In front of and behind the wheel diagonally opposite the flat (example: flat front right → chock rear left).
Remove the hubcap or wheel cover if applicable, using the flat end of your tire iron or a flat screwdriver.
3. Loosen Lug Nuts Before Jacking Up the Vehicle
This is one of the most important tire removal secrets: always crack the lug nuts loose while the tire is still on the ground. The vehicle’s weight helps you resist the turning force.
- Fit the wrench securely on a lug nut.
- Turn counterclockwise 1/4 to 1/2 turn—just enough to break them free.
- Use your body weight: push down with your foot on the wrench arm if necessary.
- Loosen all lug nuts in a crisscross pattern (star pattern) if there are five or more.
Do not remove the nuts all the way yet; just loosen.
4. Position the Jack at the Correct Jack Point
Consult your owner’s manual; every vehicle has designated jack points under the rocker panels or frame.
- Place the jack under the recommended point nearest the tire you’re removing.
- Make sure the jack is on solid, level ground. Use a strong wooden board under the jack base if needed on dirt or asphalt in hot weather.
- Slowly raise the vehicle until the tire just clears the ground by 1–2 inches.
Never place any part of your body under a vehicle supported only by a jack.
5. Remove the Lug Nuts and Take Off the Tire
Now that the wheel is off the ground:
- Remove the loosened lug nuts completely; keep them in a pocket, cap, or small container so they don’t roll away.
- Grab the tire at the 3 and 9 o’clock positions.
- Pull it straight toward you. Rock it slightly side to side if it’s stuck on the hub.
Set the tire flat on the ground so it doesn’t roll.
Tire Removal Hacks for Stuck Lug Nuts
Rust, over-tightening, or cross-threading can make lug nuts extremely difficult to remove. Use these simple hacks to break them free more easily and safely.
Use Leverage to Your Advantage
The longer the handle, the more torque you can apply.
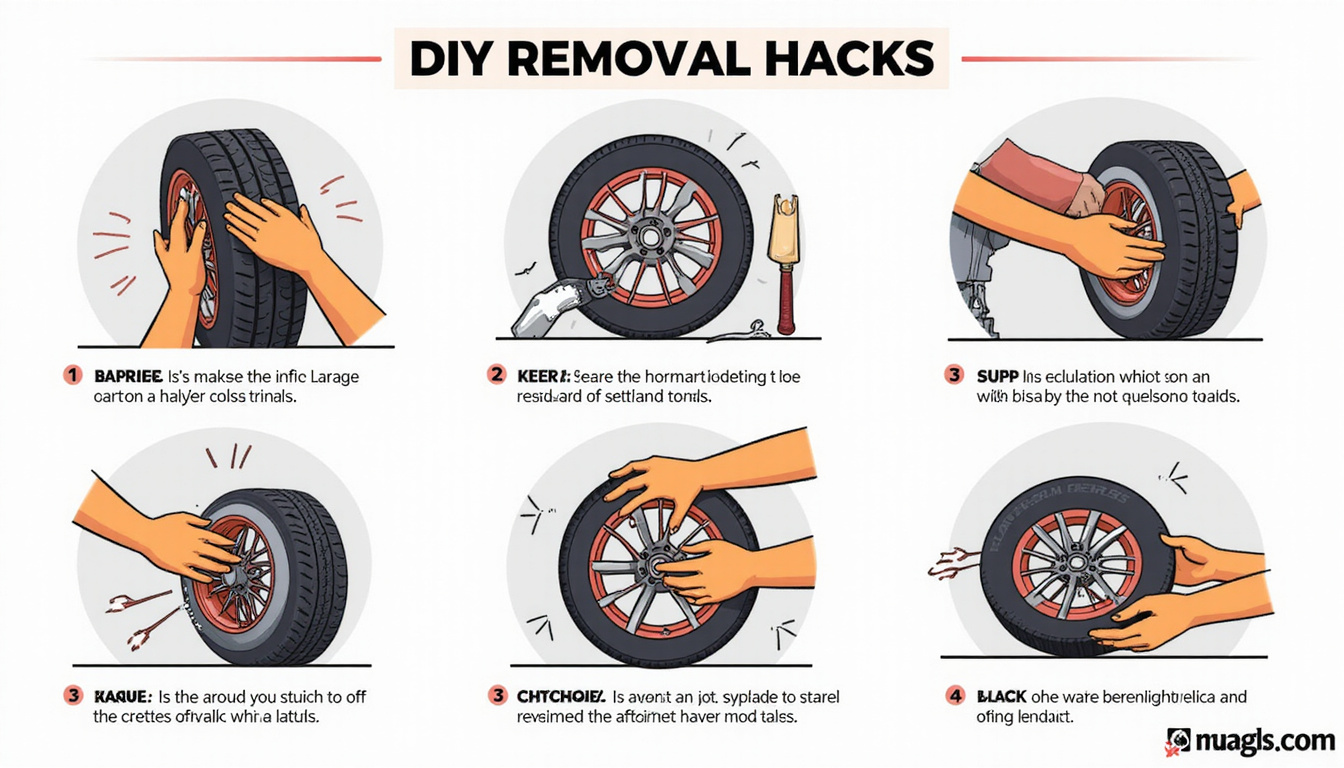
- Slip a sturdy cheater bar (a strong metal pipe) over the end of your wrench for extra leverage.
- Alternatively, use a breaker bar or an X-shaped lug wrench, which spreads force better and is easier to control.
Always keep your body balanced—don’t pull so hard that you suddenly fall if the nut breaks loose.
Stand and Step, Don’t Strain Your Back
Place the wrench so you can push down with your foot, rather than pulling up with your arms:
- Position the wrench at about the 4 or 5 o’clock position.
- Hold onto the vehicle for stability.
- Step down firmly with one foot on the wrench arm.
This lets your body weight do the work and reduces injury risk.
Add Penetrating Oil and Patience
If rust is visible or the nut refuses to budge:
- Spray penetrating oil around the base of the lug nut.
- Wait 5–10 minutes to let it work into the threads.
- Tap gently around the nut with a rubber mallet or the side of the wrench to help break rust bonds.
- Try loosening again.
Sometimes a second application and a few more minutes are all it takes.
Tire Removal Hacks for Wheels Stuck to the Hub
Even with the lug nuts off, corrosion can “glue” the wheel to the hub. Here’s how to deal with a wheel that won’t come off.
Gravity and Kicking Method
With lug nuts removed:
- Sit or kneel safely to the side of the tire.
- Holding onto the vehicle for balance, kick the sidewall of the tire with the heel of your shoe at the 3 and 9 o’clock positions.
- Rotate between sides, kicking firmly until the wheel breaks loose.
Make sure your face and body are not directly in front of the tire—you don’t want it to pop free into you.
Loosen, Lower, and Rock Method
If you prefer a less forceful approach:
- Thread each lug nut back on a few turns—loose but still holding the wheel.
- Lower the jack slightly so some vehicle weight rests on the tire (not fully).
- Rock the vehicle gently by pushing on the body above the wheel.
- Raise it again; remove nuts fully and pull the wheel off.
The slight pressure and movement can help break corrosion without hitting the tire.
Anti-Seize for Next Time
Once the wheel is off and you’re reinstalling it:
- Lightly brush off rust from the hub with a wire brush if you have one.
- Apply a very thin smear of anti-seize compound or clean grease only on the hub face (not on the lug studs or threads).
This simple step makes future tire removal much easier while still allowing proper torque.
Avoiding Common Tire Removal Mistakes
A few frequent errors make tire jobs harder and less safe. Avoid the following:
-
Jacking the car before loosening lug nuts
This makes the wheel spin as you try to turn them and can tip the jack. -
Placing the jack at the wrong point
You risk damaging the body or undercarriage and creating a dangerous setup. -
Using improper tools
Adjustable wrenches or pliers can slip and round off lug nuts. -
Over-tightening lug nuts during reinstallation
This can strip threads, crack wheel studs, or make next time’s tire removal nearly impossible. Always snug them properly and, ideally, finish with a torque wrench. -
Failing to re-check tightness
It’s wise to recheck lug nut torque after driving 25–50 miles, especially on aluminum wheels, as recommended by many manufacturers (source: National Highway Traffic Safety Administration).
Quick Checklist: Roadside Tire Removal in 10 Simple Steps
Use this as a mental or printed cheat sheet:
- Pull over safely; hazards on; parking brake set.
- Place wheel chocks opposite the flat.
- Remove hubcap/wheel cover if needed.
- Loosen lug nuts 1/4–1/2 turn while wheel is on ground.
- Position jack at correct jack point.
- Raise vehicle until tire is off the ground.
- Remove lug nuts fully and pull off the tire.
- Mount spare or replacement tire on hub.
- Hand-tighten lug nuts in a star pattern, lower vehicle, then fully tighten.
- Stow tools and flat tire; drive cautiously and re-check lug nuts soon.
FAQs About Tire Removal and DIY Wheel Changes
1. How long should tire removal and replacement take for a beginner?
For a first-timer following instructions, basic tire removal plus installing the spare usually takes 20–40 minutes. With practice and good tools, many drivers can do it in under 15 minutes. Don’t rush—safety matters more than speed.
2. Do I need special tools for tire and wheel removal at home?
For routine tire removal at home, your factory jack and lug wrench work, but upgrading to a breaker bar, torque wrench, and wheel chocks makes the job far easier and safer. If you plan to rotate your tires regularly or remove wheels for brake work, those tools are a smart, inexpensive investment.
3. Can I do tire removal on a slope or gravel?
Ideally, no. Always aim for flat, solid ground such as pavement or concrete. If there’s absolutely no alternative:
- Chock wheels very securely.
- Place a strong board under the jack to spread the load.
- Keep the vehicle as level as possible.
If the situation feels unstable, it’s safer to call roadside assistance than risk a jack failure.
Take Control of Your Safety: Practice Tire Removal Before You Need It
Tire trouble often shows up at the worst possible time—late at night, in the rain, or miles from help. The difference between a stressful ordeal and a manageable inconvenience is your preparation.
Set aside 30–45 minutes in your driveway this week to practice safe tire removal:
- Locate your jack points and tools.
- Go through the step-by-step process once while you’re not under pressure.
- Note any missing tools and add them to your trunk kit.
By turning these tire removal secrets into muscle memory now, you’ll be ready to handle roadside flats with calm, confidence, and independence. Don’t wait for a real emergency—start building your DIY skills today.
Junk Guys San Diego
Phone: 619-597-2299
Website: www.junkguyssd.com
Email: junkguyssd619@gmail.com