
Move In Cleanout: Essential Checklist to Make Settling In Effortless
A thorough move in cleanout can be the difference between a chaotic first week and a calm, enjoyable start in your new home. Whether you’re moving into an apartment, condo, or house, taking the time to clean and declutter before fully settling in helps you feel organized, protects your health, and prevents small issues from turning into big headaches later.
Below is a practical, room‑by‑room checklist to guide you through a complete move‑in cleanout—plus tips, tools, and answers to common questions.
Why a Move In Cleanout Matters
Even if your new place looks “clean enough,” it’s smart to assume that surfaces, vents, appliances, and cabinets weren’t deep‑cleaned before you arrived. A proper move in cleanout:
- Eliminates dust, allergens, and lingering odors
- Helps you spot damage or maintenance issues early
- Creates a fresh baseline for your own cleaning schedule
- Makes unpacking faster and more organized
Think of it as resetting the space so it truly becomes yours.
Step 1: Plan Your Move In Cleanout Before Moving Day
The best time to do a move in cleanout is before your belongings arrive. If possible, get access to the property at least a day or two in advance.
Build Your Cleaning Toolkit
Have these supplies ready so you can work efficiently:
- All-purpose cleaner (plus bathroom and kitchen cleaners if separate)
- Glass cleaner or vinegar/water solution
- Disinfecting wipes or spray
- Baking soda and white vinegar (for odors and drains)
- Microfiber cloths and sponges
- Scrub brushes and an old toothbrush for crevices
- Mop, bucket, and floor cleaner suitable for your flooring type
- Broom and dustpan or vacuum with attachments
- Trash bags and contractor bags for bulky debris
- Rubber gloves and optional face mask (for dust or strong cleaners)
If the place is especially dirty or large, consider renting a steam cleaner for carpets or hiring a professional cleaning crew for a one‑time deep clean.
Step 2: Do a Walkthrough and Declutter First
Before you start scrubbing, walk through every room and:
- Identify obvious junk – old hangers, broken blinds, left‑behind items, trash in cabinets.
- Check closets and cabinets – remove anything you won’t use.
- Test lights and outlets – replace burned‑out bulbs and note any outlets that don’t work.
- Inspect for damage – take photos of existing damage (especially if you’re renting).
A move in cleanout isn’t just about cleaning; it’s also your chance to declutter the space of anything a previous occupant left behind, and to document the home’s condition.
Step 3: Clean from Top to Bottom, Dry to Wet
For an efficient move in cleanout, always work:
- Top to bottom – dust falls onto lower surfaces and floors.
- Dry to wet – start with dusting and sweeping, then move to mopping and scrubbing.
This sequence saves time and prevents you from re‑doing areas you’ve already cleaned.
Step 4: Room‑by‑Room Move In Cleanout Checklist
Use this section as a detailed guide while you move through the home.
Entryway and Hallways
Your entry sets the tone for the rest of the home.
- Dust light fixtures, vents, and door frames.
- Wipe down doors, knobs, and switch plates with a disinfectant.
- Clean baseboards and any scuff marks on walls.
- Sweep and mop floors; shake or vacuum any existing mats.
If there’s a closet, vacuum and wipe shelves before hanging coats or storing shoes.
Kitchen Move In Cleanout
The kitchen deserves extra attention since it affects health and food safety.
Appliances
-
Refrigerator & Freezer
- Unplug if possible. Remove all shelves and drawers.
- Wash components with warm soapy water; dry thoroughly.
- Wipe interior walls, door seals, and handles.
- Deodorize with a shallow dish of baking soda if there are lingering smells.
-
Oven & Stove
- Remove racks and soak or scrub them.
- Use an oven cleaner or baking soda paste for the interior.
- Clean stove top, knobs, and control panel.
- Lift the stove (if safe) to sweep and mop underneath.
-
Microwave & Dishwasher
- For microwave, steam‑clean a bowl of water with lemon slices, then wipe interior.
- For dishwasher, run an empty hot cycle with a cup of white vinegar on the top rack to remove mineral buildup and odors.
Cabinets and Countertops
- Empty all cabinets and drawers; vacuum crumbs and dust.
- Wipe inside and outside with a gentle cleaner.
- Disinfect handles and knobs.
- Clean counters with a cleaner suited to the material (avoid harsh abrasives on stone).
Sink and Garbage Disposal
- Scrub sink basin and faucet.
- Run ice cubes and a few lemon peels through the disposal (if present).
- Pour a mix of baking soda followed by vinegar down the drain, then flush with hot water.
Finish by sweeping and mopping the floor thoroughly—kitchens accumulate hidden grime.
Bathroom Move In Cleanout
Bathrooms are high‑priority for hygiene and comfort.
- Toilet: Disinfect the seat, lid, handle, and exterior. Use a toilet bowl cleaner and brush inside. Consider replacing the toilet seat for peace of mind.
- Tub and Shower: Remove any old liners. Scrub tiles, tub, and grout. Clean glass doors with a glass cleaner or vinegar solution.
- Sink and Vanity: Scrub the sink and faucet, then disinfect counter surfaces. Empty and wipe out all drawers and cabinets.
- Mirrors: Clean with glass cleaner to remove streaks and spots.
- Vent Fan: Dust and wipe the cover; if possible, vacuum dust from the fan.
- Floor: Sweep or vacuum, then mop, paying attention to corners behind the toilet.
Bathrooms are prone to mold and mildew, so ensure good ventilation once you move in.
Bedrooms and Living Areas
These spaces often look clean, but still hide dust and allergens.
- Dust ceiling fans, light fixtures, and vents.
- Wipe windowsills, trim, door frames, and switches.
- Clean closets: vacuum floors; wipe shelves and rods.
- Wash interior windows and sliding doors.
- Vacuum or mop floors thoroughly (use attachments along baseboards).
If you inherited any blinds, gently dust or wipe each slat. Curtains should be washed or dry‑cleaned if you plan to keep them.
Floors and Carpets
Your move in cleanout should leave floors as fresh as possible:
- Hardwood/Laminate: Sweep or vacuum with a soft‑brush attachment. Mop with a product made for that floor type. Avoid soaking wood floors.
- Tile: Sweep, then mop with a tile‑safe cleaner. Pay attention to grout lines.
- Carpet: Vacuum slowly in overlapping passes. For best results, consider renting a carpet cleaner or hiring a professional for a one‑time deep clean, especially if previous occupants had pets or smoked.
Clean floors not only look better, they also reduce allergens like dust mites and pet dander (source: EPA).
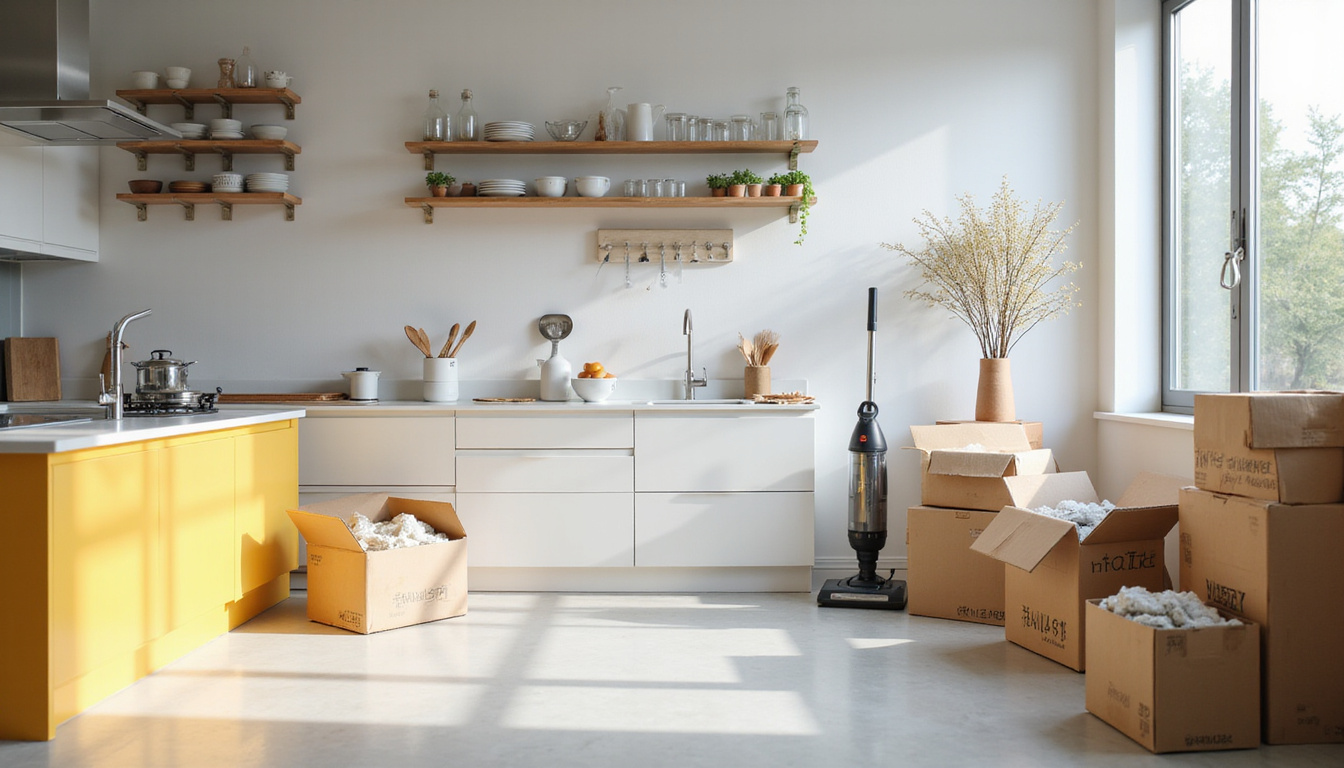
Step 5: Address Odors and Air Quality
A move in cleanout isn’t complete without improving how the home smells and feels.
- Open windows for several hours to air out the space.
- Replace HVAC filters and consider vacuuming vent covers.
- Use baking soda on carpets before vacuuming to neutralize odors.
- Avoid heavy fragrances at first; they can just mask issues. Track down and clean sources of smells (e.g., drains, trash, spills under appliances).
This is also a good time to test smoke and carbon monoxide detectors and replace batteries if needed.
Step 6: Sanitize High‑Touch Areas
To keep your new home healthy from day one, disinfect surfaces that get frequent contact:
- Door handles and knobs
- Light switches
- Faucet handles
- Appliance handles (fridge, oven, microwave)
- Cabinet pulls and drawer handles
- Railings and banisters
Use a disinfectant that specifies appropriate contact time on the label so it actually kills germs.
Step 7: Organize as You Unpack
A move in cleanout sets the stage for smart organization. As you unpack:
- Start with essentials – bathroom, bedding, a few kitchen items, and work/school basics.
- Use zones – designate specific cabinets, drawers, and closets for categories (e.g., baking, snacks, cleaning supplies).
- Avoid overloading freshly cleaned spaces with clutter. Give yourself room to adjust systems after a week or two of living there.
This helps maintain the cleanliness you’ve just worked for and makes daily routines more efficient.
Quick Move In Cleanout Checklist
Use this condensed list as a reference while you work:
- Get access before your move, if possible.
- Bring a full set of cleaning supplies.
- Walk through and remove all trash and left‑behind items.
- Dust from ceilings down to baseboards.
- Deep clean kitchen: appliances, cabinets, sink, and floors.
- Deep clean bathrooms: toilet, tub/shower, sink, and vent fan.
- Clean bedrooms and living areas: closets, windows, surfaces, and floors.
- Vacuum or mop all floors; consider professional carpet cleaning.
- Improve air quality: open windows, change filters, clean vents.
- Sanitize all high‑touch surfaces.
- Unpack intentionally and organize as you go.
When to Hire a Move In Cleanout Service
Sometimes a DIY cleanout isn’t realistic. Consider professional help if:
- The home is very large or you’re on a tight timeline.
- There is visible mold, pest activity, or heavy smoke damage.
- You’re pregnant, have allergies, or health conditions aggravated by dust or chemicals.
- You’re moving elderly family members who need a hygienic, low‑allergen space immediately.
Many cleaning companies offer dedicated move in/move out packages that include deep cleaning cabinets, appliances, and baseboards—ideal if you want to walk into a fully prepared home.
FAQ: Move In Cleanout and Related Questions
1. How long does a move in cleanout usually take?
For a typical two‑bedroom apartment, a thorough move in cleanout can take 4–8 hours with one person, depending on how dirty it is. A larger home or heavily soiled space may take a full day or more, especially if you’re deep‑cleaning appliances and carpets.
2. What’s the difference between a move in cleanout and regular cleaning?
Routine cleaning focuses on visible surfaces you use every day. A move in clean out goes deeper: inside cabinets and drawers, behind and under appliances, inside light fixtures, vents, closets, and high‑touch but often overlooked surfaces. It’s meant to reset the home before you settle in and put your belongings away.
3. Should I do my move in cleaning checklists before or after my stuff arrives?
Ideally, follow your move‑in cleaning checklist before your furniture and boxes show up. Empty rooms are faster and easier to clean, and you’ll avoid moving heavy items multiple times. If that’s not possible, prioritize cleaning the kitchen, bathrooms, and bedroom areas you’ll use immediately, then tackle the rest once you’re partially unpacked.
Start Your Move In Cleanout Now for a Stress‑Free Move
A little planning and a focused move in cleanout can transform moving day from overwhelming to manageable. By walking through, decluttering, and then cleaning systematically from top to bottom, you’ll uncover issues early, improve your home’s air quality, and create a fresh, healthy space that truly feels like yours from the first night.
If your move is coming up, block out time on your calendar specifically for cleaning, gather your supplies in advance, and use the checklist above as your step‑by‑step guide. And if it already feels like too much to juggle, consider booking a professional move in cleanout service so you can walk into a spotless home and focus on what matters most: settling in and enjoying your new space.
Junk Guys San Diego
Phone: 619-597-2299
Website: www.junkguyssd.com
Email: junkguyssd619@gmail.com