
Tackling a crawl space cleanout yourself can feel intimidating, but it’s one of the most impactful home projects you can do to protect your health, your home’s structure, and your wallet. Mold, standing moisture, and debris under your house don’t just smell bad—they can damage framing, ruin insulation, drive up energy bills, and worsen indoor air quality.
With the right plan, tools, and safety precautions, a carefully executed DIY cleanout can eliminate mold risks and help you avoid expensive professional remediation. This guide walks you through each step, from inspection and cleanup to moisture control and prevention.
Why your crawl space matters more than you think
Your crawl space is part of your home’s “lungs.” Air from below can move up into your living areas, carrying moisture, mold spores, and musty odors. Problems that start in a neglected crawl space often show up as:
- Persistent allergies or respiratory issues
- Cupped or buckling hardwood floors
- High humidity and condensation on windows
- Sagging floors or musty smells in living areas
A thorough crawl space cleanout addresses these root problems instead of masking symptoms inside the home.
Safety first: Gear and precautions before you start
Before you dive into a DIY crawl space cleanout, protect yourself. Crawl spaces often contain mold, dust, rodent droppings, sharp debris, and sometimes asbestos-containing materials (especially in older homes).
Essential safety gear:
- NIOSH-approved respirator (at least N95; P100 is better for mold)
- Safety goggles (sealed around the eyes)
- Heavy-duty work gloves
- Coveralls or old long-sleeve clothing you can wash hot or discard
- Knee pads and a hard hat or bump cap
- Flashlights or headlamps (plus extra batteries)
Precautions:
- Check for standing water or live leaks. If there is significant flooding or an active plumbing leak, fix that first.
- Turn off power to any exposed wiring in the crawl space if you see damaged or wet electrical components; consult an electrician if unsure.
- Watch for pests. Snakes, spiders, and rodents may be present. If you see heavy infestation, call a pest professional before continuing.
- If your home is older and you suspect asbestos (e.g., old pipe wrap, 9×9 tiles stored down there), stop and contact a professional; don’t disturb it.
Step 1: Inspect and document crawl space conditions
Start with a careful inspection so you understand what you’re dealing with. Bring your phone to take photos and notes.
Look for:
- Moisture sources: Leaky pipes, wet soil, standing water, condensation on ducts or joists
- Mold growth: Black, white, or green patches on wood, insulation, or vapor barriers; musty odor
- Insulation condition: Fallen batts, soggy or moldy insulation, rodent nests
- Ventilation and sealing: Open vents, gaps around plumbing/electrical penetrations, unsealed rim joists
- Structural issues: Rot, sagging beams, severely damaged joists (these may require professional evaluation)
Document problem areas. Your crawl space cleanout plan should prioritize moisture and mold first, then debris and improvements.
Step 2: Remove debris, junk, and contaminated materials
A clean, clear crawl space is much easier to dry out and maintain. Start at the access door and work your way inward.
What to remove:
- Old construction scraps, wood, cardboard, and trash
- Disconnected or fallen ductwork pieces
- Old plastic sheeting and torn or outdated vapor barrier
- Severely damaged or mold-saturated insulation (especially if it’s sagging or falling)
Tips:
- Use heavy-duty contractor bags; don’t overfill—remember you’ll be crawling out with them.
- Handle rodent droppings carefully; lightly mist with a disinfectant solution before disturbing to reduce airborne particles (per CDC guidance for rodent cleanup).
- Keep wood scraps and cardboard out permanently—they absorb moisture and attract pests.
Dispose of all contaminated materials according to local regulations. Insulation and moldy materials usually go to regular waste, but check your municipality’s rules.
Step 3: Control moisture – the root of crawl space mold
Mold growth in a crawl space is almost always a moisture problem. Cleaning without fixing moisture is a temporary bandage.
Address moisture from three main sources: liquid water, air leaks, and ground moisture.
Fix leaks and drainage problems
- Repair plumbing leaks: dripping pipes, leaking drain lines, or HVAC condensate lines.
- Improve exterior drainage:
- Extend downspouts 6–10 feet from the foundation
- Ensure soil slopes away from the house
- Clear gutters so they don’t overflow near the foundation
If you have recurrent standing water or very high water tables, you may need a sump pump or French drain system professionally installed.
Reduce humid air infiltration
Outside humid air entering a cool crawl space condenses on framing and ducts.
- Seal large cracks and gaps in the foundation walls with mortar or foam.
- Seal around pipe and wire penetrations with foam or caulk.
- Consider closing traditional foundation vents and moving toward a sealed (encapsulated) crawl space practice, especially in humid climates (see EPA guidance on moisture control for buildings — source).
Block ground moisture
Bare soil constantly releases water vapor.
- Remove old, torn plastic sheeting.
- Later in the process (Step 6), you’ll install a heavier, continuous vapor barrier to reduce this ground moisture load.
Step 4: DIY mold removal in the crawl space (when it’s safe)
If you have small to moderate mold growth (generally less than ~100 square feet and not thickly built up), careful DIY cleaning is often reasonable. For widespread, heavy, or toxic-looking mold, or if anyone in your household is immunocompromised, bring in a professional mold remediator.
Never mix bleach with ammonia or other cleaners. Always ventilate as best as possible.
Basic mold-cleaning process
- Suit up with your PPE: respirator, goggles, gloves, coveralls.
- Set up ventilation by using a box fan at the crawl space entrance blowing outward if possible, to pull air out.
- Lightly mist moldy areas with water to reduce dust (don’t soak wood).
- Use a mold-specific cleaner or detergent solution on non-porous or semi-porous surfaces:
- Commercial mold removers designed for framing
- Or a strong detergent solution (like dish soap in warm water) for milder growth
- Scrub mold from wood and hard surfaces using stiff brushes.
- Wipe and dry surfaces with rags. Replace rags frequently and bag them for disposal.
- Avoid saturating wood—excess water will prolong drying time and can worsen problems.
Bleach is often recommended online, but it isn’t always the best choice on porous materials like wood since it may not penetrate deeply. If you choose to use it, limit it to non-porous surfaces and always follow label directions carefully.
If mold has deeply damaged wood (spongy, crumbling, or significantly rotted), that’s beyond simple cleaning and may require structural repair.
Step 5: Dry the crawl space thoroughly
After cleaning and addressing leaks, get the space as dry as possible.
Methods to speed drying:
- Fans: Place a box fan at the access opening blowing outward to pull fresh air through.
- Dehumidifier: A crawl-space-rated dehumidifier placed under the house can pull gallons of moisture out per day.
- Time and monitoring: Use an inexpensive hygrometer to track humidity. Aim for relative humidity under 60%, ideally 40–50% for mold prevention.
Don’t install new insulation or vapor barriers until surfaces are dry to the touch and humidity has stabilized.
Step 6: Install or upgrade your crawl space vapor barrier
A high-quality vapor barrier is crucial to keep ground moisture from re-entering the space.
Choose material:
- 6-mil plastic is the bare minimum; 10–20 mil reinforced poly is more durable and tear-resistant.
Installation steps:
- Grade the soil lightly if needed so there are no deep holes or sharp rocks sticking up.
- Roll out the plastic sheeting to cover the entire ground surface.
- Overlap seams by 6–12 inches and tape them with compatible seam tape.
- Run the vapor barrier up foundation walls 6–12 inches and mechanically fasten or tape (for more advanced encapsulation).
- Cut tight slits for piers and seal around them with tape.
This barrier dramatically cuts moisture coming from the soil, which in turn reduces mold risk and improves air quality.
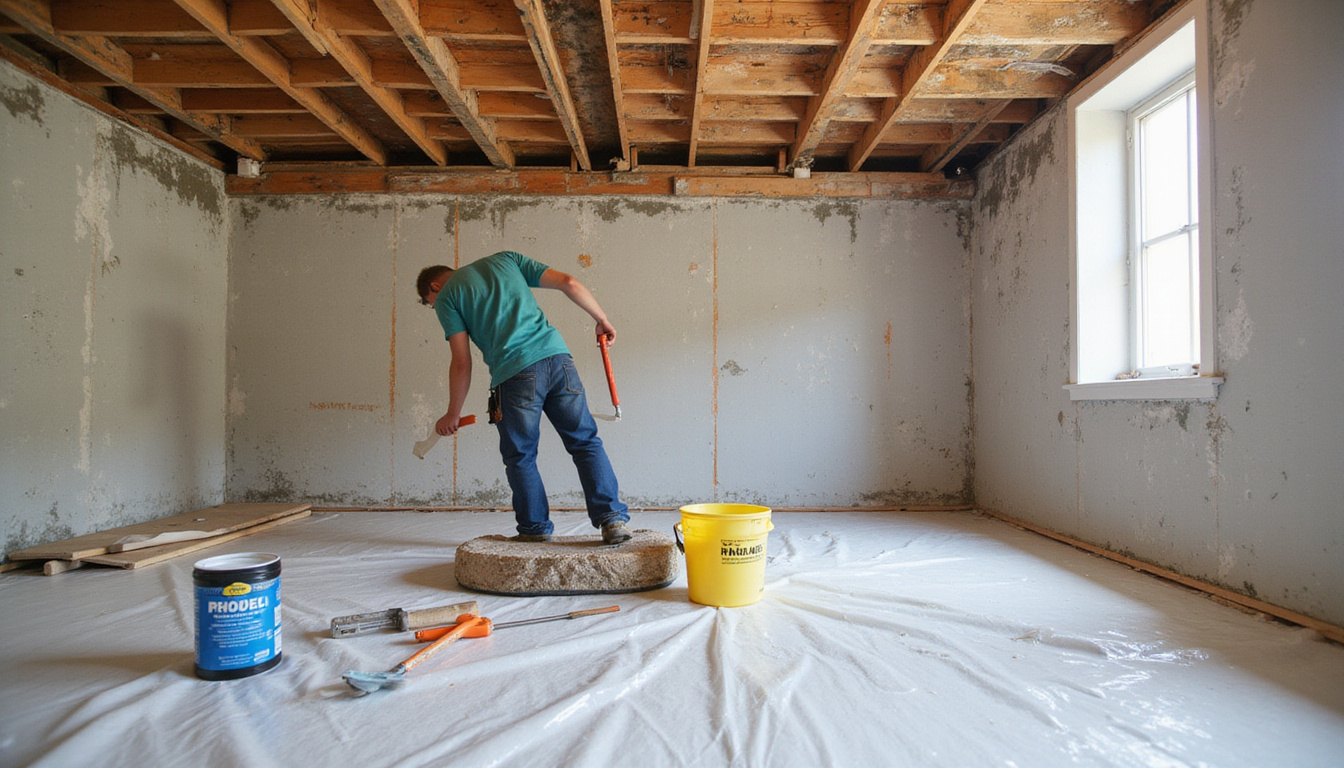
Step 7: Address insulation and air sealing for comfort and savings
A proper crawl space cleanout is the perfect time to improve energy efficiency and comfort.
Insulate appropriately
In many homes, the original fiberglass batts in the floor joists are falling down and moldy. Once the space is dry:
- Remove and discard mold-damaged insulation.
- Replace with new, appropriately rated insulation:
- Fiberglass batts rated for floor cavities, or
- Rigid foam insulation on foundation walls (often used in encapsulated crawl spaces).
Air seal for energy efficiency
- Seal around plumbing and electrical penetrations in the subfloor with foam or caulk.
- Seal rim joists and band joists with foam board and spray foam or with closed-cell spray foam.
Proper insulation and air sealing in the crawl space can lower energy bills and make floors warmer in winter.
Step 8: Consider partial or full crawl space encapsulation
If you live in a humid or mixed climate, encapsulation—sealing the crawl space from outdoor air and conditioning it—can be a long-term solution.
Encapsulation usually includes:
- Heavy-duty, fully sealed vapor barrier on floor and walls
- Sealed or eliminated foundation vents
- Insulation on the foundation walls instead of the floor
- A dedicated dehumidifier or small supply of conditioned air from the HVAC system
Full encapsulation is often best left to pros, but many homeowners do a hybrid DIY approach: improving vapor barrier coverage, sealing obvious gaps, and running a dehumidifier. Even partial improvements significantly reduce mold risk.
Ongoing maintenance after a crawl space cleanout
To make your hard work last:
- Inspect twice a year: spring and fall. Check for new moisture, mold, or pests.
- Monitor humidity with a hygrometer and adjust dehumidifier settings as needed.
- Check gutters and grading annually to ensure water is directed away from the foundation.
- Re-secure or replace vapor barrier sections if they get torn during service work.
Small, regular checkups are all it takes to keep your crawl space clean and healthy over the long term.
Quick checklist: DIY crawl space cleanout steps
Use this list as a project roadmap:
- Gear up with proper safety equipment.
- Inspect and document moisture, mold, and structural conditions.
- Remove debris, junk, and contaminated insulation.
- Fix leaks and drainage issues around the home.
- Clean visible mold in safe, manageable areas with appropriate cleaners.
- Thoroughly dry the space using fans and/or a dehumidifier.
- Install or upgrade a continuous vapor barrier on soil.
- Re-insulate and air seal for efficiency and comfort.
- Consider partial or full encapsulation for long-term moisture control.
- Schedule regular inspections and humidity checks.
FAQ: crawl space cleanout and mold prevention
Q1: How often should I do a crawl space cleanout?
A full crawl space cleanout usually only needs to be done once if you address moisture properly and install a good vapor barrier. After that, plan on inspecting the crawl space at least twice a year and doing minor touch-ups (removing small debris, checking insulation, resecuring vapor barrier) as needed.
Q2: Can I handle crawl space mold removal myself, or do I need professional crawl space cleaning?
DIY mold removal is typically fine for small to moderate areas where mold is surface-level, the structure is intact, and no one in your home has severe allergies or immune issues. However, you should hire a professional for extensive mold coverage, significant wood rot, strong persistent odors, or if moisture intrusion is severe or ongoing.
Q3: What does a professional crawl space cleanout and encapsulation cost compared to DIY?
Professional crawl space cleaning and encapsulation can range from a few thousand to over ten thousand dollars, depending on size, severity, and local labor rates. A DIY crawl space cleanout focusing on debris removal, basic mold cleaning, a proper vapor barrier, and a dehumidifier can often be completed for a fraction of that cost, especially if structural repairs aren’t needed. Your time, safety, and comfort level with tight spaces should factor into the decision.
A cleaner, drier crawl space is one of the smartest upgrades you can make to your home. By following these crawl space cleanout steps, you can eliminate mold, protect your family’s health, and save thousands in potential repair and energy costs. If you’re ready to breathe easier and safeguard your investment, set a weekend on the calendar, gather your tools and safety gear, and start transforming the hidden space beneath your feet into a dry, healthy foundation for your home.
Junk Guys San Diego
Phone: 619-597-2299
Website: www.junkguyssd.com
Email: junkguyssd619@gmail.com