
Planning a renovation in an older home can be exciting—but it’s also when hidden hazards are most likely to surface. One of the most serious is asbestos. Understanding asbestos removal and how to handle potential asbestos-containing materials before you start swinging a sledgehammer is critical for protecting your health, your family, and your renovation budget.
Below is a practical, homeowner-focused guide to the essential steps you must take if you suspect or discover asbestos during renovations.
Why asbestos is dangerous (and where it’s commonly found)
Asbestos is a group of naturally occurring minerals once widely used in construction for fire resistance, insulation, and durability. It becomes dangerous when materials containing asbestos are disturbed—cut, sanded, drilled, or demolished—releasing tiny fibers into the air.
When inhaled, those fibers can lodge in the lungs and lead to serious long-term illnesses, including:
- Asbestosis (chronic lung disease)
- Lung cancer
- Mesothelioma (a rare, aggressive cancer)
Symptoms typically appear decades after exposure, which is why prevention is so important.
Common places asbestos might be in your home
Homes built or renovated roughly between the 1920s and the late 1980s are much more likely to contain asbestos, though dates vary by country and region. It may be present in:
- Flooring: Vinyl floor tiles, sheet vinyl with backing, and the mastic (black adhesive) underneath
- Ceilings and walls: Popcorn ceilings, textured paint, joint compound, cement sheets
- Insulation: Around boilers, pipes, ducts, attics (especially loose-fill vermiculite)
- Roofing and siding: Asphalt shingles, cement shingles, soffits
- HVAC components: Duct insulation, tape, and gaskets
- Other products: Old fuse boxes, some window putty, fire doors, heater flues
Because these materials often look normal, you cannot reliably tell by sight whether something contains asbestos. Testing is the only way to know.
Step 1: Pause your renovation and assess the risk
If you’re planning or have already started renovations in an older home, your first essential step is to pause any disturbance of suspicious materials.
Ask yourself:
- Was the home built or last heavily renovated before the early 1990s?
- Are you planning demolition, sanding, scraping, drilling, or cutting into old building materials?
- Do you see crumbly insulation, old 9"x9" tiles, popcorn ceilings, or cement panels?
If the answer to any of these is yes, treat those materials as potentially asbestos-containing until proven otherwise. Stop work in those areas and keep people and pets away.
Step 2: Arrange professional asbestos inspection and testing
The safest, most reliable way to proceed is to hire a licensed asbestos inspector or assessor. They will:
- Visually inspect the renovation areas
- Safely collect small samples of suspect materials
- Send the samples to an accredited laboratory for analysis (often using polarized light microscopy or TEM)
Trying to DIY sample collection can expose you to fibers if done incorrectly. It may also be illegal in some jurisdictions for unlicensed individuals to disturb certain materials.
What to expect from the inspection
A quality asbestos inspection report should include:
- Which materials were sampled and where
- Laboratory results stating whether asbestos is present and at what percentage
- Risk assessment (friable vs non-friable, current condition)
- Recommendations: leave in place, encapsulate, or remove
Keep this report; it can be valuable for future renovations and for disclosure when selling your home.
Step 3: Understand your legal obligations and local rules
Regulations around asbestos removal vary by country, state/province, and sometimes even municipality. In most places, there are strict rules on:
- Who is allowed to remove asbestos
- How it must be contained and transported
- Required notifications to environmental or labor authorities
- Air monitoring and clearance testing standards
Before you proceed with any asbestos work, check:
- Your local government website (often environmental health or labor department)
- Building permit requirements (many renovation permits now ask about asbestos)
- Whether your homeowners association or condo board has additional rules
For example, in the U.S., the Environmental Protection Agency (EPA) and the Occupational Safety and Health Administration (OSHA) provide regulations and guidance on asbestos in homes and workplaces (source: U.S. EPA asbestos overview).
Failing to comply can result in fines, stop-work orders, and even legal liability if others are exposed.
Step 4: Decide: manage in place, encapsulate, or remove?
Not all asbestos must be removed. In fact, disturbing stable asbestos unnecessarily can increase risk. Based on your inspector’s report, you generally have three options:
-
Leave it in place (manage in place)
If asbestos-containing materials are in good condition, sealed, and not going to be disturbed by your renovation, they can often remain. You must:- Avoid drilling, sanding, or cutting
- Monitor periodically for damage
- Disclose the presence of asbestos to future contractors and buyers
-
Encapsulation
This involves sealing asbestos material with a specialized coating or covering it with another durable barrier (e.g., new flooring over intact asbestos tiles). This reduces the release of fibers without full removal. -
Asbestos removal (abatement)
This is necessary when renovation plans will disturb asbestos materials, or they are already damaged, friable (crumbly), or deteriorating. In many jurisdictions, only licensed asbestos abatement contractors can perform this work.
In most renovation scenarios that involve demolition, asbestos removal is the safest and often required solution.
Step 5: Choose a qualified asbestos removal contractor
If removal is needed, selecting the right contractor is crucial for safety and compliance.
Look for:
- Current asbestos abatement license or certification
- Proof of liability and pollution insurance
- Trained and certified workers (not just the company)
- A track record of residential projects similar to yours
- Written references or reviews from past clients
Ask each contractor:
- What is your removal plan for my specific materials and layout?
- How will you set up containment and negative air pressure?
- What protective equipment will workers use?
- How will you handle waste packaging, transport, and disposal?
- Will you arrange for independent final air clearance testing?
Get the scope of work, schedule, and total cost in detailed writing before signing.
Step 6: Prepare your home for asbestos abatement
Before the asbestos removal crew arrives, you’ll need to prepare the space to reduce contamination and disruption.
Typically, you should:
- Remove all personal belongings, furniture, curtains, and rugs from the work area
- Clear pathways for workers and equipment
- Plan to be out of the home (or at least away from the containment zone) during removal
- Notify neighbors if required or if shared hallways are involved (e.g., condos)
Your contractor will usually:
- Shut down and seal HVAC vents in the work area
- Establish a plastic-sheeting containment zone with a decontamination entry
- Set up negative air machines with HEPA filtration to keep fibers from escaping
- Post warning signs around the work zone
Proper preparation helps prevent asbestos dust from migrating to clean parts of your home.
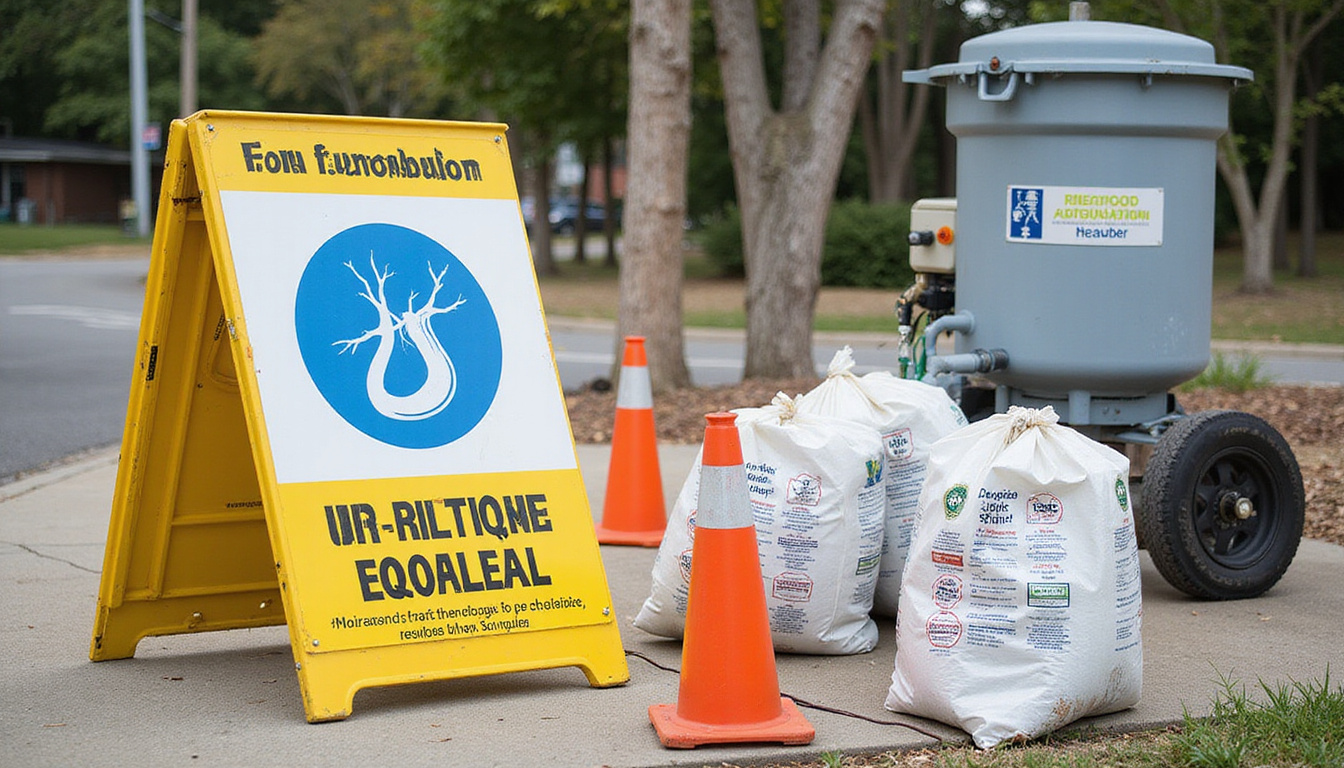
Step 7: What happens during professional asbestos removal
While exact methods vary by material type, a safe asbestos removal process typically includes:
-
Thorough wetting of materials
Asbestos-containing materials are sprayed with a water solution to keep dust levels down. -
Careful removal
Workers manually remove materials with minimal breakage, using hand tools instead of power tools whenever possible. -
Double-bagging and sealing waste
Debris is placed in approved, labeled asbestos disposal bags or wrapped in thick plastic and taped securely. -
HEPA vacuuming and cleaning
Surfaces and air inside the containment area are cleaned with HEPA-filter vacuums and wet wiping methods. -
Decontamination procedures
Workers exit through a decontamination area, removing protective gear and preventing fiber tracking.
You should not see clouds of dust, open bags, or workers without proper respirators and disposable suits. If you do, stop work and contact the company’s supervisor and, if necessary, your local regulatory authority.
Step 8: Clearance testing and safe re-entry
Once removal is complete, it’s essential to confirm that the area is safe before you resume renovations or move back in.
A qualified independent professional (not the abatement contractor) should perform:
- Visual inspection: ensuring all asbestos-containing materials and debris are gone
- Air sampling: testing fiber levels inside the containment zone compared to outside
Only after the area passes clearance should the containment be removed. Ask for a copy of the clearance report for your records.
Step 9: Handling insurance, documentation, and future work
Keep organized records related to asbestos removal, including:
- Inspection and lab reports
- Removal contracts and invoices
- Waste manifests and disposal certificates (if provided)
- Clearance test results
These documents can:
- Help when making an insurance claim (if coverage applies)
- Provide reassurance and proof of safety to future buyers
- Guide any future renovations in other parts of the house
For upcoming projects, share this information with contractors so they know where asbestos was present and what areas have already been remediated.
Cost considerations for asbestos removal during renovations
The cost of asbestos removal depends on:
- Type of material (floor tile vs pipe insulation vs popcorn ceiling)
- Size and complexity of the work area
- Accessibility (single room vs whole house, crawlspaces, high ceilings)
- Local labor and disposal fees
- Required air monitoring and clearance testing
Roughly, you might see:
- Small, simple projects: a few hundred to a couple thousand dollars
- Whole-home or multi-area abatement: several thousand to tens of thousands
Trying to “save money” by skipping professional asbestos removal or hiring unqualified workers can backfire—putting health at risk and potentially violating regulations that end up costing more in the long run.
Quick homeowner checklist before you renovate
Use this short checklist to stay on track:
- Confirm the age and renovation history of your home.
- Identify any materials that could contain asbestos.
- Pause all demolition and disturbance in suspect areas.
- Hire a licensed inspector for testing.
- Review test results and recommended options.
- Check local regulations and permit requirements.
- Choose a licensed asbestos removal contractor if needed.
- Prepare your home and family for the abatement process.
- Obtain air clearance testing before reoccupying the area.
- Keep all documentation for future reference.
FAQ: asbestos removal during home renovations
Q1: Do I always need asbestos removal before renovating?
Not always. If asbestos-containing materials are in good condition and will not be disturbed by your renovation, they can sometimes be left in place or encapsulated. However, if your work involves demolition, sanding, cutting, or drilling into suspect materials, professional asbestos removal is usually the safest and often legally required option.
Q2: Can I do my own asbestos abatement to save money?
In many regions, homeowners are legally restricted or outright prohibited from DIY asbestos abatement, especially for friable materials. Even when allowed, the health risks, need for specialized equipment, and disposal regulations make professional asbestos abatement the far safer approach. Always check your local laws before attempting any removal.
Q3: How long does residential asbestos remediation take?
The duration of asbestos remediation depends on the size of the area and the complexity of the materials involved. A small single-room removal might be completed in one day, while larger projects—such as multiple rooms with asbestos ceilings and flooring—can take several days or more. Planning this timing into your renovation schedule is essential.
Protect your renovation—and your family—with safe asbestos removal
Renovations should make your home safer and more comfortable, not introduce serious long-term health risks. By pausing work in older homes, testing suspicious materials, and using licensed professionals for any necessary asbestos removal, you’re investing in your family’s safety and your property’s value.
If you’re planning a renovation and suspect asbestos might be present, don’t wait until demolition day. Reach out to a qualified asbestos inspector or abatement contractor now, get clear on your options, and build your renovation plan on a safe, compliant foundation.
Junk Guys San Diego
Phone: 619-597-2299
Website: www.junkguyssd.com
Email: junkguyssd619@gmail.com