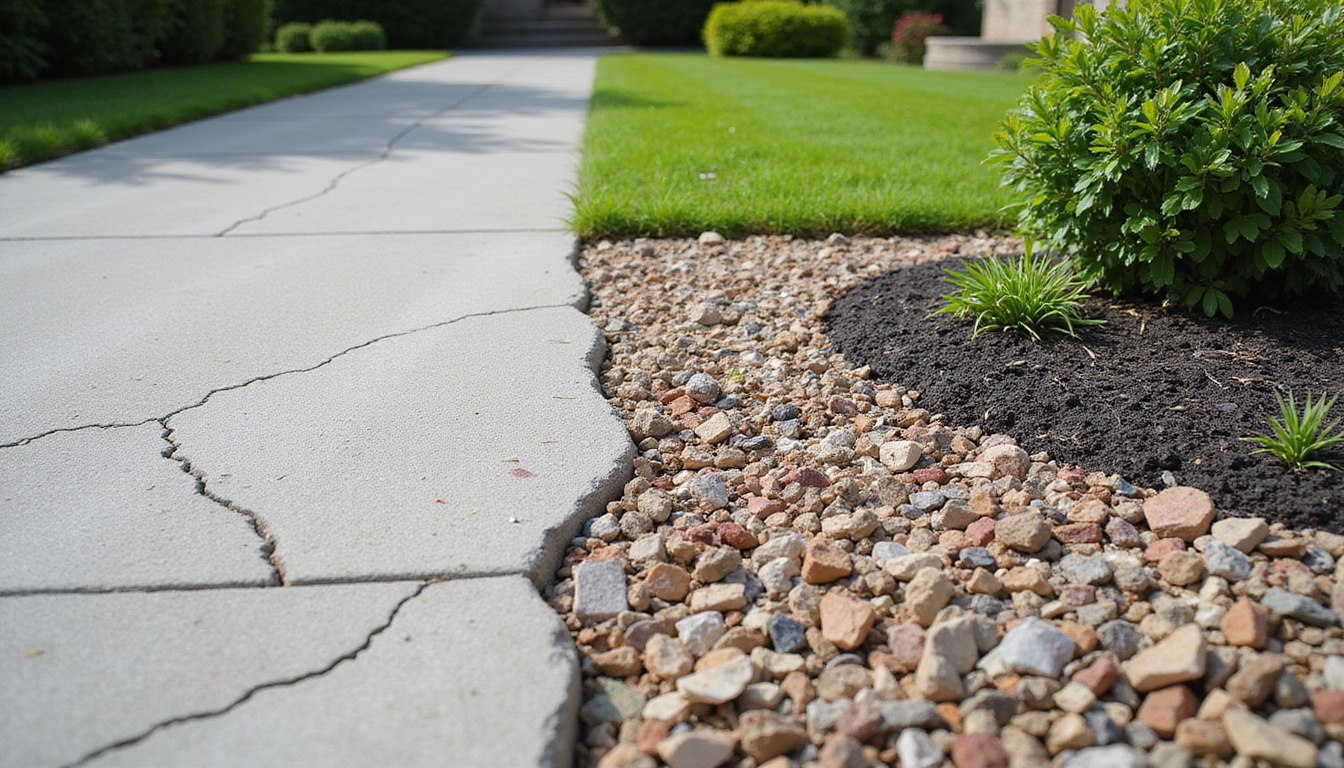
Tackling concrete removal at home can feel intimidating—heavy slabs, dust, noise, and the worry of damaging something expensive. The good news: with the right plan, you can remove old concrete quickly, safely, and without blowing your budget. This guide walks you through practical, homeowner-friendly strategies, from deciding whether to DIY or hire help, to choosing tools, reducing costs, and staying safe.
Step One: Decide if You Should DIY or Hire a Pro
Before you swing a sledgehammer or rent a jackhammer, step back and assess the scope of your concrete removal project.
When DIY Makes Sense
DIY concrete removal can be a smart option if:
- The area is relatively small (e.g., a few sidewalk slabs, a small patio, or part of a driveway).
- The concrete is already cracked or weakened, making it easier to break.
- You’re physically able to handle moderate to heavy labor.
- You’re comfortable renting tools and following safety procedures.
Typical DIY-friendly projects:
- Small garden paths or pavers set in concrete
- Sections of a cracked driveway
- Old fence post footings
- Thin concrete pads (3–4 inches thick) without heavy rebar
When to Call a Professional
Hire a concrete removal contractor if:
- The slab is large or thick (often 6 inches or more).
- The concrete is heavily reinforced with rebar or wire mesh.
- The area is near your home’s foundation, utilities, or plumbing.
- You’re dealing with structural concrete (garage floor, load-bearing slab, retaining wall).
- You need it done quickly and with minimal disruption.
Pros bring specialized tools (heavy demo hammers, saws, skid steers, mini-excavators) and have experience preventing collateral damage. While it costs more upfront, it can save you money by avoiding foundation cracks, broken pipes, or injuries.
Planning Your Concrete Removal: Check These Before You Start
Good planning is the first cost-saving step in any concrete removal project.
1. Identify What’s Under and Around the Concrete
You must know what’s nearby before you start breaking things:
- Utility lines: Call your local “Call Before You Dig” or 811 service to mark gas, water, electricity, and cable lines before concrete removal (in many places, this is free and legally required).
- Drainage and plumbing: Look for cleanouts, downspouts, and visible drainage features.
- Foundation proximity: Concrete that’s poured up against your house or steps can be tied into the structure.
If you suspect utilities or structural connections, lean toward hiring a professional or at least consulting one.
2. Measure Thickness and Reinforcement
The difficulty and cost of concrete removal depend heavily on these two factors:
-
Thickness:
- 3–4 inches: typical patio or sidewalk, DIY-friendly.
- 4–6 inches: common for driveways, more challenging but still possible for experienced DIYers.
- 6+ inches: candidates for professional removal.
-
Reinforcement:
- Wire mesh: slows you down but manageable with bolt cutters.
- Rebar: much more work; needs cutting tools and extra time.
- No reinforcement: fastest to remove.
Drill a test hole or break a small section first to see what you’re dealing with.
3. Estimate Your End Goal and Disposal Plan
Knowing what you’ll do after concrete removal helps you choose the best method:
- Will you pour new concrete, lay pavers, or plant a garden?
- Do you need to preserve the base gravel underneath?
- How will you dispose of broken concrete?
Check local disposal rules beforehand. Many cities accept concrete at specific recycling centers, and some even offer cheaper disposal for clean, sorted concrete.
Tools and Techniques for Quick, Cost-Effective Concrete Removal
Choosing the right tools is the fastest way to combine speed and savings. Below are common options, from low-tech to heavy-duty.
Sledgehammer Method (Best for Small, Thin Slabs)
For small areas, the classic sledgehammer is still the cheapest approach.
What you’ll need:
- 8–16 lb sledgehammer
- Pry bar or digging bar
- Wheelbarrow or buckets for debris
- Safety gear (gloves, safety glasses, ear protection, dust mask, steel-toe boots)
Basic technique:
- Start at a corner or edge, not in the middle.
- Hit the concrete firmly, aiming near cracks or joints.
- Use a pry bar to lift sections slightly—once it’s elevated, it breaks more easily.
- Continue working in small sections, hauling debris away as you go.
This method is labor-intensive but low-cost, and it gives you excellent control in tight spaces.
Renting a Jackhammer or Demolition Hammer
For medium to large DIY projects, renting a powered demolition hammer is often the best value.
Tool options:
- Electric demolition hammer (60–70 lb): Common for homeowners; needs only a standard outlet.
- Pneumatic jackhammer: More powerful but usually overkill and requires a compressor.
Tips for effective use:
- Use a point bit to start and break through, then a chisel bit to expand cracks.
- Work at a 45-degree angle, not straight down—this helps break chunks rather than just punching holes.
- Break pieces into manageable sizes (about 12–18 inches across) so they’re easier to lift and haul.
- Take breaks; these tools are heavy and can cause fatigue faster than expected.
Renting for one full day and planning your work to use every hour effectively can dramatically reduce costs.
Concrete Saw + Break Method
For clean edges and controlled removal, combine cutting with breaking.
Good for:
- Removing only part of a slab or driveway
- Working near structures, steps, or other surfaces you want to keep
How it works:
- Rent a concrete saw (gas or electric) with a diamond blade.
- Score or cut along the edge of the area to be removed.
- Use a sledgehammer or demolition hammer to break inside the cut lines.
- The cuts reduce random cracking and give you neat edges suitable for new work.
This adds tool rental cost but saves you money and headaches later when you go to replace or finish the area.
Chemical Concrete Removal (Expansive Grouts)
For thick, heavily reinforced, or sensitive areas where you want low vibration and noise, expansive grouts can help.
Process:
- Drill a pattern of holes into the slab.
- Mix and pour a non-explosive expansive grout into the holes.
- Over several hours, the material expands, cracking the concrete from within.
These products cost more than traditional DIY methods and require patience, but can be safer around foundations or fragile structures.
Staying Safe During Concrete Removal
Concrete removal is one of the more hazardous home projects. Protecting yourself is non-negotiable.
Essential safety gear:
- Safety glasses or goggles (impact-rated)
- Hearing protection (earmuffs or plugs)
- Heavy-duty gloves
- Respirator or N95 mask (to avoid inhaling concrete dust)
- Long pants and long sleeves
- Steel-toe boots with good grip
Key safety practices:
- Keep bystanders—especially children and pets—far from the work area.
- Wet the concrete lightly to reduce dust while breaking or cutting.
- Take care when lifting; broken concrete is extremely heavy. Use your legs, not your back.
- Watch for rebar and wire mesh that can spring or shift suddenly.
- Never use power tools near suspected gas or electric lines.
For more in-depth safety guidance, OSHA provides helpful resources on construction and demolition best practices (source).
How to Cut Disposal Costs and Even Reuse Old Concrete
Disposal can be a surprisingly large part of concrete removal costs. Planning ahead can keep this manageable.
Smart Disposal Options
- Concrete recycling centers: Many facilities accept clean concrete for crushing and reuse, often cheaper than landfill tipping fees.
- Dumpster or dump trailer rental: Best for larger projects; compare prices and weight limits.
- Haul-it-yourself: If you have a truck or trailer (and the physical ability), multiple small trips can be cheaper than one big container.
Always load evenly and be mindful of weight—concrete is roughly 120–150 lbs per cubic foot.
Ways to Reuse Removed Concrete
If the concrete is relatively clean, you might repurpose it on your property:
- Broken pieces as fill under new patios or walkways
- Chunky pieces as “urbanite” pavers for rustic garden paths
- Larger sections as retaining wall blocks or garden borders
- Rubble as base material under gravel driveways (if local codes allow)
Reusing concrete can reduce disposal costs and the amount of new material you need to buy.
Cost Breakdown: What You Can Expect to Spend
Exact numbers vary by region and project size, but these ballpark ranges can guide your planning.
DIY Concrete Removal Costs
- Sledgehammer, pry bar, safety gear: $50–$150 (if you don’t already own them)
- Demolition hammer rental: $60–$125 per day
- Concrete saw rental: $75–$150 per day
- Dumpster or disposal fees: $100–$600+, depending on volume and local rates
- Expansive grout (if used): $40–$100+ per bag
DIY can be significantly cheaper for smaller projects, especially if you already have some tools and can haul debris yourself.
Professional Concrete Removal Costs
Contractors typically charge by square foot, with adjustments for thickness, access difficulty, and reinforcement:
- Light/standard slabs (3–4 inches): often in the range of $2–$5 per square foot
- Thicker or reinforced slabs: higher end of that range or above
- Tight-access or complex projects: additional charges
Keep in mind that these prices usually include both labor and disposal, as well as equipment costs, so they can compare favorably to DIY if the project is large or difficult.
Simple Steps to Make Concrete Removal Faster and Cheaper
To wrap the main guidance into a quick checklist:
- Assess the slab – thickness, reinforcement, proximity to utilities and structures.
- Decide on DIY vs. pro – be realistic about your time, strength, and experience.
- Plan your tools – sledgehammer, demolition hammer, or saw, depending on size and complexity.
- Arrange disposal – choose recycling, dumpster, or DIY hauling before you start.
- Prioritize safety – proper gear, dust control, and careful lifting.
- Work in sections – break, remove, and haul in manageable chunks.
- Reuse where possible – save on both disposal and new materials.
FAQ: Concrete Removal Questions Homeowners Ask
How much does concrete demolition cost for a small patio?
For a small patio, concrete demolition cost depends on thickness and local rates. DIY might run a few hundred dollars in tool rentals and disposal, while hiring a contractor could range from a few hundred to over a thousand dollars, especially if access is difficult or the slab is thick or reinforced.
Is it worth doing concrete removal myself to save money?
Yes, DIY concrete removal can be worth it for smaller, simpler projects—especially if the concrete is thin, cracked, and easy to access. The savings come from not paying for labor and heavy equipment. However, if the slab is thick, near your home’s foundation, or covers utilities, professional help is often safer and more cost-effective in the long run.
What is the best way to dispose of broken concrete cheaply?
The best way to dispose of concrete on a budget is usually to take it to a local concrete recycling facility, where tipping fees are often lower than landfills. If you can reuse part of the broken concrete on-site—for fill, retaining walls, or garden paths—you’ll reduce both disposal and material costs.
Ready to Start Your Concrete Removal Project?
The right concrete removal strategy can clear space for a new patio, safer walkways, better drainage, or a fresh driveway—without unnecessary expense or risk. Start by assessing your slab, honestly gauging whether DIY or professional help fits your situation, and planning your tools and disposal before you begin.
If you’re feeling uncertain about thickness, nearby utilities, or how to keep costs down for your specific project, your next best step is to get a few local quotes and compare them with a realistic DIY budget. With a clear plan and the right help—whether that’s a rented jackhammer or an experienced crew—you can tackle your concrete removal confidently and set the stage for your next home upgrade.
Junk Guys San Diego
Phone: 619-597-2299
Website: www.junkguyssd.com
Email: junkguyssd619@gmail.com