
If you’re moving, downsizing, or reorganizing, furniture disassembly can be the difference between a smooth transition and a stressful, time‑consuming ordeal. Taking pieces apart the right way saves space in the moving truck, protects your furniture from damage, and makes navigating tight hallways or stairwells much easier. With some planning, a few basic tools, and smart techniques, you can safely disassemble most household furniture on your own.
Why furniture disassembly is worth the effort
Before grabbing a screwdriver, it helps to understand why breaking furniture down is so useful:
- Saves space: Disassembled pieces pack flatter, allowing you to fit more into your vehicle or storage unit.
- Reduces damage: Long, heavy or awkward items are easier to drop or bump into walls. Smaller sections are safer to handle.
- Easier lifting: Large furniture can often be reduced into manageable parts that one or two people can move.
- Fits through tight spaces: Sometimes removing a table leg or couch arm is the only way to get it through a doorway or stairwell.
- More efficient moving day: Efficient furniture disassembly ahead of time speeds up loading and unloading.
Professional movers regularly disassemble and reassemble items for these reasons, and many follow similar basic steps you can do yourself (source: U.S. General Services Administration – Moving Tips).
Step 1: Plan before you start taking things apart
A little planning at the start will save you a lot of confusion later.
Measure paths and problem areas
Walk the route your furniture must travel:
- Doorways
- Hallways
- Staircases
- Elevators
Measure width, height, and any tight turns. Compare these to the largest dimensions of your furniture. If an item clearly won’t fit, plan on disassembling it.
Decide what really needs disassembly
Not every piece must come apart. Prioritize:
- Extra‑large items (king beds, sectionals, wall units)
- Tall pieces (armoires, wardrobes, bookcases)
- Heavy or awkward items (solid wood tables, sleeper sofas)
- Anything that already barely fits in the room
If a piece already fits easily through doors and is light enough to carry safely, you may be better off moving it intact.
Step 2: Gather tools and supplies
Successful furniture disassembly is mostly about having the right tools and staying organized.
Basic tools to have on hand:
- Phillips and flathead screwdrivers (multiple sizes)
- Allen (hex) key set
- Adjustable wrench and/or socket set
- Pliers (regular and needle-nose)
- Rubber mallet (for gentle taps)
- Utility knife (for cutting tape or fabric staples as needed)
Helpful supplies for staying organized:
- Small zipper bags for screws and bolts
- Painter’s tape or masking tape
- Permanent marker
- Moving blankets or thick towels
- Stretch wrap or packing tape
- Labels or sticky notes
Keep your tools together in a small box or tool bag so you’re not constantly searching.
Step 3: Document as you go
Reassembly is always where people get stuck. Good documentation makes it painless.
Take photos from multiple angles
Before and during disassembly, use your phone to photograph:
- Overall views of the piece
- Underside and back (where hardware usually hides)
- Connection points (how legs attach, how brackets line up)
- Complex sections like hinges or reclining mechanisms
Take more photos than you think you need. When you’re tired and reassembling weeks later, these images are invaluable.
Label parts and hardware
For each item:
- Name the piece – e.g., “Master bed frame,” “Living room TV stand.”
- Bag the hardware – Put all screws, bolts, and brackets in a small zipper bag.
- Label the bag clearly with the item name and location (e.g., “Dining table – legs + bolts”).
- If pieces are similar (like multiple shelves or panels), use painter’s tape and a marker to label them (“Left side panel,” “Shelf 1,” etc.).
Try to keep each piece’s hardware attached to it when possible (tape the bag to the underside of a table, for example).
Step 4: Disassemble common furniture types safely
Different furniture types call for slightly different approaches. Here are the basics for the most common items.
Beds and bed frames
Beds are some of the largest pieces in any home, so furniture disassembly often starts here.
- Remove bedding, mattress, and box spring first.
- Photograph the frame, headboard, and footboard connections.
- Detach slats or center support beams.
- Unscrew the side rails from headboard and footboard.
- Keep all bolts and brackets in a labeled bag.
For platform beds or storage beds, remove drawers and set them aside, then disassemble the outer frame.
Sofas and sectionals
Many sofas can be partially taken apart to make them easier to move:
- Remove cushions and pillows.
- If the legs unscrew, remove them and bag the hardware.
- For sectionals, separate each segment at the built-in connectors.
- Some sofas have removable backs that lift up and off their metal brackets.
- Sleeper sofas are heavy: if you’re not experienced, consider leaving them intact or hiring help.
Avoid cutting upholstery unless you’re prepared for repairs; most sofa disassembly can be done from underneath or at the back using existing fasteners.
Dining tables and desks
Tables are fairly straightforward:
- Turn the table upside down on a blanket to protect the surface.
- Photograph the underside where legs connect.
- Remove legs or base by unscrewing bolts or brackets.
- If it’s an extendable table, remove leaves and wrap separately.
- Wrap the top and legs individually.
For desks, remove drawers first and label them by position. Then remove legs or detach any hutches or upper shelves.
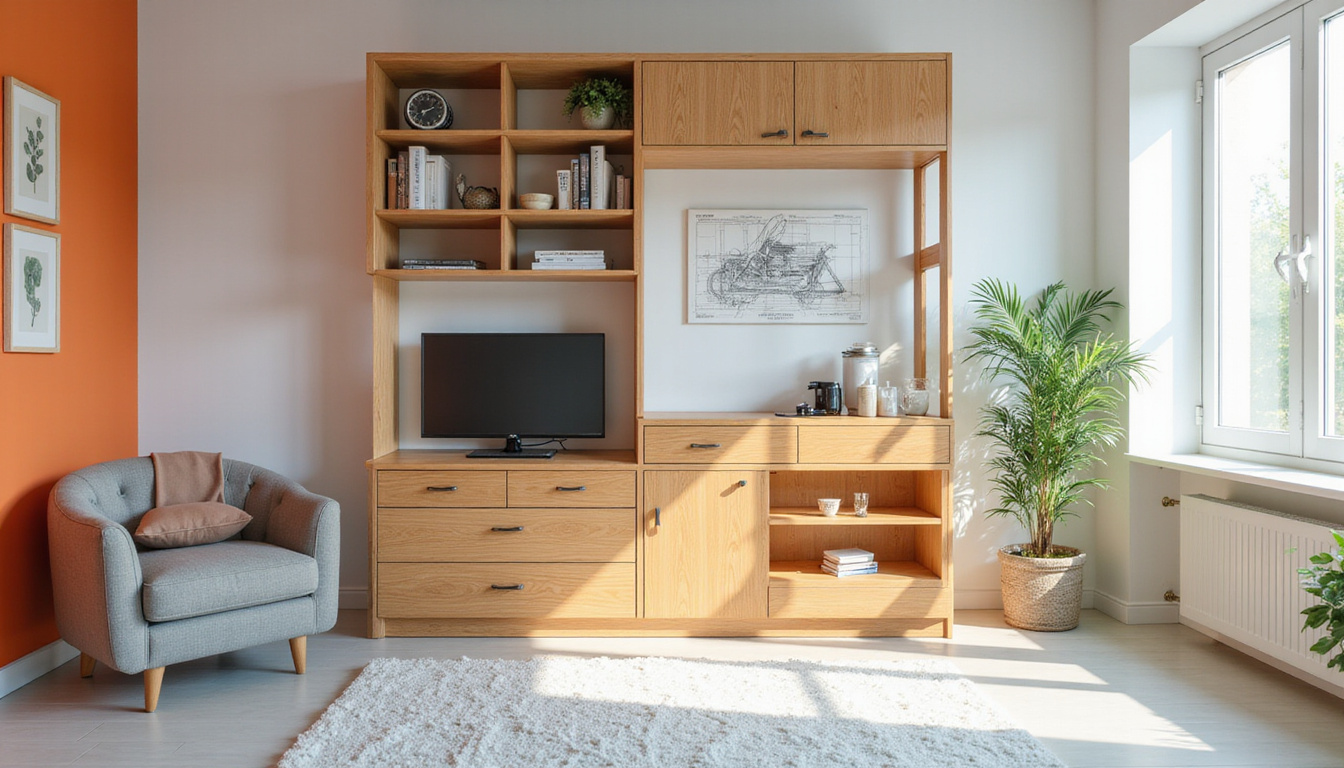
Bookcases, cabinets, and wardrobes
For tall or heavy storage pieces:
- Empty all contents first.
- Remove adjustable shelves and shelf pins.
- Detach doors from hinges if they make the piece too bulky or heavy.
- For knock-down (flat-pack) furniture, unscrew panels where possible. Pay close attention to which panel is which.
Older solid-wood pieces may be glued and not designed for disassembly. If resistance is strong and there are no visible fasteners, you may risk damage by forcing it apart. In that case, move the item as a whole or consult a pro.
Step 5: Protect, pack, and label efficiently
Disassembly is only half the job. Proper packing keeps pieces safe and easy to identify later.
Wrap delicate surfaces
- Use moving blankets, foam sheets, or thick towels to wrap wood surfaces and table tops.
- Secure wraps with stretch wrap or tape (avoid tape directly on wood).
- Use cardboard edge protectors on sharp corners.
Keep sets together
When possible:
- Tape the hardware bag to the corresponding furniture part.
- Pack legs together and label clearly.
- Stack panels or shelves from the same unit in one bundle.
The goal is that anyone unloading the truck can quickly see which parts belong together and where each piece goes.
Smart organization tricks for faster reassembly
A few simple systems make the reassembly process much faster and less frustrating.
Use a simple numbering system
For flat-pack style items or wardrobes:
- Number the panels in assembly order (1, 2, 3, etc.).
- In your notes or photos, match numbers to approximate locations (e.g., “1 – left side, 2 – right side”).
Group tools and hardware by room
If you’re moving to a new home:
- Pack a small “furniture toolkit” box that stays with you (not in the moving truck).
- Add a few spare screws and basic hardware, just in case something goes missing.
- Put room-specific hardware bags in boxes labeled with their destination room.
That way, you don’t need to open every box to find what you need for the bedroom furniture.
When you should not attempt DIY furniture disassembly
While most standard home items are safe to tackle, there are some exceptions:
- High-end antiques or heirlooms: The risk of damage can outweigh potential savings.
- Built-in units: Cabinetry or built-in wardrobes may require a carpenter.
- Complex mechanical pieces: Recliners, massage chairs, Murphy beds, or adjustable beds can have springs and motors that are dangerous if handled incorrectly.
- Very heavy stone or glass: Large glass tops or stone surfaces are easy to crack and expensive to replace.
In these cases, an experienced handyman or mover familiar with careful furniture disassembly is often worth the cost.
Basic safety tips you shouldn’t skip
DIY disassembly is usually safe, but a few precautions matter:
- Lift with your legs, not your back. Get help for anything awkward or heavy.
- Wear closed-toe shoes and gloves to avoid cuts and dropped-piece injuries.
- Work on a soft surface (blanket or rug) to protect both furniture and floors.
- Keep kids and pets out of the work area while tools and small hardware are around.
- Stay within your limits. If you’re unsure, stop and reassess.
Quick checklist: DIY furniture disassembly essentials
Use this checklist to streamline your project:
- Measure doors, halls, and stairways.
- Decide which pieces truly need disassembly.
- Gather tools, bags, labels, and protective materials.
- Take “before” photos of each item.
- Remove loose items (shelves, cushions, drawers) first.
- Disassemble in logical order, bagging and labeling hardware.
- Wrap delicate pieces and group parts together.
- Pack tools and essential hardware where you can access them fast.
- Reassemble priority items first at your destination (bed, sofa, table).
FAQ about furniture disassembly and moving
Q1: Is it better to move furniture disassembled or fully assembled?
If an item is large, heavy, or barely fits through doors, it’s usually better to move it disassembled. Smaller, sturdy pieces that fit easily and are light enough to carry are fine to move assembled. Balancing time, effort, and risk of damage is key.
Q2: How long does DIY furniture disassembly and reassembly take?
Timing depends on complexity and your experience. A basic bed frame may take 20–30 minutes to take apart and the same to rebuild. Complex wall units or wardrobes can take 1–2 hours each. Planning, labeling, and organizing as you go significantly reduces reassembly time.
Q3: Can I hire help just for furniture dismantling before a move?
Yes. Many moving companies and handymen offer standalone furniture disassembly and reassembly services. This can be a good option for a few large or complicated items (like wardrobes or sectionals) while you handle simpler pieces yourself.
Make your next move easier with smart furniture disassembly
With the right approach, furniture disassembly doesn’t have to be stressful or confusing. By planning ahead, documenting each step, keeping hardware organized, and protecting your furniture properly, you can save truck space, reduce damage, and make both moving out and moving in much smoother.
If you’re preparing for a move or a big reorganization, start by walking through your home today: identify the pieces that will need attention and gather the basic tools and supplies. Whether you tackle everything yourself or combine DIY efforts with professional help, a thoughtful disassembly plan will pay off in time, space, and peace of mind.
Junk Guys San Diego
Phone: 619-597-2299
Website: www.junkguyssd.com
Email: junkguyssd619@gmail.com