
Tackling fixture removal yourself is one of the fastest ways to save money on home updates. Whether you’re swapping out an old light, replacing a dated faucet, or clearing a bathroom for renovation, learning basic fixture removal skills lets you cut labor costs and control your own timeline. With a little planning, the right tools, and safe habits, most homeowners can handle many of these tasks confidently.
Below, you’ll find a practical, step-by-step guide to common fixture removal projects, safety must‑knows, and money‑saving tips to help you do it right the first time.
Before you start: safety and preparation
DIY fixture removal isn’t difficult, but you must prepare properly. Rushing in can lead to leaks, electrical shocks, or damaged walls and finishes.
1. Identify fixture type and connections
First, understand what you’re dealing with:
- Plumbing fixtures: faucets, sinks, toilets, showerheads, tub spouts
- Electrical fixtures: ceiling lights, chandeliers, fans, sconces
- Built-in fixtures: cabinets, vanities, mirrors, towel bars
Then, determine:
- Where water shutoffs or electrical breakers are
- The material around the fixture (tile, drywall, plaster, stone)
- Whether the fixture supports something else (e.g., a cabinet supporting a countertop)
This assessment guides what tools and steps you’ll need.
2. Gather essential tools
A basic fixture removal kit should include:
- Adjustable wrench and/or socket set
- Screwdriver set (flat and Phillips)
- Utility knife
- Pliers (including needle-nose)
- Putty knife or scraper
- Painter’s tape and masking tape
- Bucket and towels (for plumbing)
- Voltage tester (for electrical)
- Step ladder or sturdy work platform
Having everything ready reduces mid-project stress and mistakes.
3. Protect your space
Simple protection saves repair costs later:
- Lay old towels or drop cloths under plumbing fixtures.
- Use cardboard or a drop cloth under heavy items like toilets or vanities.
- Tape off nearby finishes with painter’s tape before prying or cutting caulk.
- Remove fragile items from the area.
Plumbing fixture removal basics
Plumbing fixtures are some of the most common DIY removal targets. Leaks and water damage are the main risks, so shutting off water correctly is crucial.
How to safely shut off water
-
Find local shutoff valves
Under sinks and toilets, look for small oval or lever valves on the water lines. -
Turn valves clockwise until fully closed
Don’t overtighten if they’re old; you just need them snug. -
Test by opening the faucet or flushing
Water should slow to a trickle and then stop. If it doesn’t, shut off the main water supply to the house. -
Relieve pressure
Open a faucet at a lower level to drain residual water from the lines.
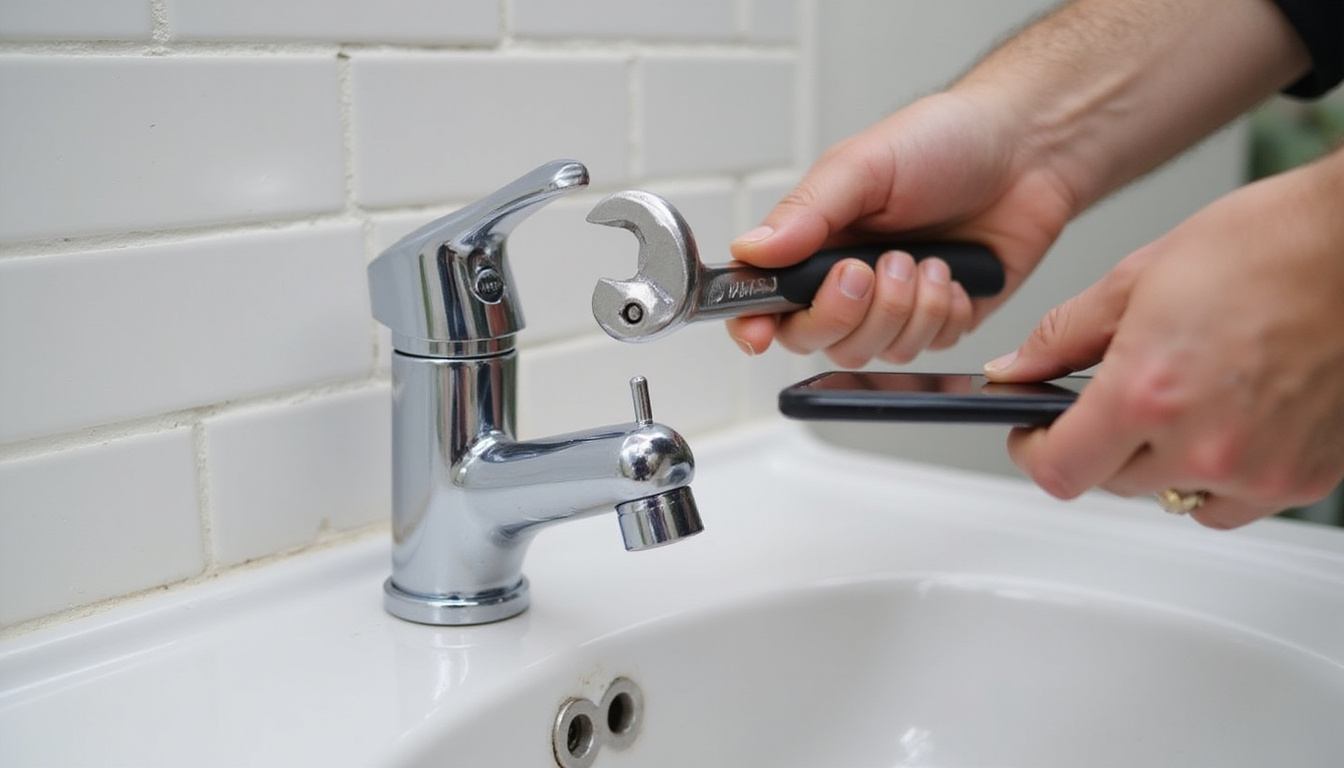
Removing a bathroom or kitchen faucet
Faucet fixture removal is a manageable beginner project if you can comfortably work under a sink.
Step-by-step faucet removal
-
Shut off water and unplug any nearby outlets (e.g., under‑cabinet lights).
-
Place a bucket and towel under the pipes to catch drips.
-
Disconnect supply lines
- Use an adjustable wrench to unscrew the nuts where the supply lines meet the shutoff valves.
- Loosen slowly; there may be trapped water.
-
Disconnect the drain assembly (if applicable)
- For bathroom faucets, loosen the nut holding the pop-up rod to the drain.
- Unsnap or unscrew linkage pieces.
-
Loosen mounting nuts
- Under the sink, locate the large nuts holding the faucet to the sink or countertop.
- Use a basin wrench if space is tight.
-
Cut through old caulk
- From above, score around the faucet base with a utility knife to break the seal.
-
Lift the faucet out
- Rock gently side to side. If it’s stuck, carefully pry with a putty knife to avoid scratching the sink.
-
Clean the surface
- Remove old caulk and mineral buildup so the new fixture will seat properly.
Toilet fixture removal without a mess
Toilet removal sounds intimidating, but the process is straightforward if you control water and weight.
Steps for removing a toilet
-
Shut off the toilet supply valve and flush to empty most of the tank.
-
Soak up remaining water
- Use a sponge, old towels, or a wet/dry vac to remove water from the tank and bowl.
-
Disconnect the water supply line
- Place a towel underneath and loosen the nut at the tank.
-
Remove tank (two-piece toilets)
- Unscrew the tank bolts and lift the tank off the bowl.
-
Remove caps and loosen floor bolts
- Pop off the caps at the base, then unscrew the nuts holding the toilet to the flange.
-
Break the wax seal
- Rock the bowl gently side to side until it loosens, then lift straight up.
-
Plug the drain opening
- Stuff an old rag into the flange to block sewer gases (remember to remove it before installing anything new).
-
Scrape off old wax ring
- Clean the flange area thoroughly.
Disposing of an old toilet may require a special pickup; check your local waste management guidelines.
Electrical fixture removal: lights and fans
Electrical work carries more risk than plumbing. If you’re at all uncertain, consult or hire a licensed electrician. For basic light fixture removal, though, careful precautions make it manageable.
Electrical safety first
- Turn off the correct breaker in your panel, not just the wall switch.
- Verify with a voltage tester that the wires at the fixture are dead before touching anything.
- Never work on wet surfaces or with damp hands.
- Know your limits: complex wiring, aluminum wiring, or old knob-and-tube systems should be handled by pros (source: U.S. Consumer Product Safety Commission).
How to remove a ceiling light fixture
-
Turn off power at the breaker and test the fixture with a non-contact voltage tester.
-
Support the fixture
- Use one hand or a helper while you remove screws; many fixtures are heavier than they look.
-
Remove decorative cover
- For dome lights, this may twist off or drop down after loosening screws.
-
Unscrew mounting hardware
- Remove the screws attaching the fixture to the electrical box.
-
Disconnect wires
- Note or photograph wire connections first.
- Usually, you’ll see black (hot), white (neutral), and bare/green (ground).
- Unscrew wire nuts and separate the wires.
-
Lower the fixture and set aside.
If you’re not installing a new fixture immediately, cap the wires with wire nuts and tuck them safely into the box, leaving the breaker off or the switch clearly labeled.
Removing a ceiling fan
Ceiling fans are bulkier and heavier than simple light fixtures, so plan for safe handling.
-
Turn off power at the breaker.
-
Remove light bulbs and glass shades to reduce weight and breakage risk.
-
Take off fan blades
- Unscrew each blade from the motor housing.
-
Support the motor
- Have a helper hold the housing or use an adjustable support.
-
Remove canopy cover
- This reveals the mounting bracket and wire connections.
-
Disconnect wires
- Take a picture, then unscrew wire nuts and separate wires.
-
Lift off the fan motor
- Carefully remove it from the mounting bracket and lower it to the ground.
-
Remove the bracket (if replacing with a different fixture)
Built-in fixture removal: cabinets, vanities, and mirrors
Built-ins often involve both mechanical fasteners and adhesives/caulk, so patience is key.
Removing a bathroom vanity
-
Turn off water and disconnect plumbing
- Shut off valves, disconnect supply lines and P-trap, and plug the drain pipe.
-
Separate countertop from wall and vanity
- Cut through caulk around the backsplash and sides with a utility knife.
- For stone tops, get help—these are heavy.
-
Remove screws securing the vanity
- Look along the back and sides inside cabinets for screws into wall studs.
-
Gently pry the vanity away
- Use a pry bar with a scrap of wood behind it to protect walls and floors.
-
Lift and remove
- Slide or lift the vanity out, watching for any remaining fasteners or caulk.
Taking down large wall mirrors
Wall mirrors may be clipped, glued, or both. Clipped mirrors are simple; glued ones are hazardous to remove.
-
For clipped mirrors:
- Place tape in a big “X” pattern across the mirror.
- Remove the top clips while someone supports the mirror.
- Lift the mirror up and off the bottom clips.
-
For glued mirrors:
- These can shatter during removal and sometimes damage drywall.
- Consider cutting it into sections with proper glass-cutting tools and heavy protection, or hire a pro—especially for large, fully-glued mirrors.
Common mistakes in fixture removal (and how to avoid them)
Avoiding a few frequent errors can save you from expensive repairs:
-
Not shutting off water or power fully
Double-check: test a faucet, flip a light switch, and use a voltage tester. -
Overtightening or forcing stuck parts
Soak with penetrating oil, use the right tool, and give it time instead of muscle. -
Skipping photos of wiring or complex assemblies
Take clear, close-up pictures before disconnecting anything. -
Damaging surrounding surfaces
Always cut caulk first, use painter’s tape, and pry against protective blocks of wood. -
Ignoring hidden support structures
Some fixtures help support countertops or trim; inspect before fully removing.
How fixture removal saves money
DIY fixture removal can significantly lower project costs:
-
Cut labor charges
Contractors often bill by the hour. Doing removal yourself means they focus only on installation. -
Control the schedule
You can remove fixtures ahead of time instead of paying contractors to wait or work around obstacles. -
Reuse or resell old fixtures
- Donate usable lights, cabinets, or faucets.
- Sell quality items online or at a salvage shop.
-
Avoid unnecessary replacements
Sometimes cleaning and re-seating a fixture is enough, and removing it to inspect can help you decide.
Quick-reference: DIY fixture removal checklist
Use this list as a simple guide before any fixture removal project:
- Identify type of fixture and connections (water, power, fasteners, adhesive).
- Locate and test shutoffs (breaker or water valves).
- Gather protective gear and tools.
- Protect floors, countertops, and walls.
- Take “before” photos of wiring or complex assemblies.
- Cut caulk or sealant before prying.
- Disconnect supply lines and fasteners methodically.
- Label or bag small parts and screws.
- Dispose or store removed fixtures safely.
- Inspect surfaces and connections before new installation.
FAQs about fixture removal
How much does professional fixture removal cost?
Professional fixture removal cost varies widely, but many plumbers and electricians charge hourly rates between $75–$150, plus service fees. Removing items yourself can save that entire labor portion, leaving you to pay only for installation if you’re not doing that part DIY.
Can I do fixture removal without shutting off the main water?
For most sinks and toilets, you can perform plumbing fixture removal using local shutoff valves under the fixture. However, if those valves don’t fully stop the water or are corroded, you should shut off the main supply to avoid leaks or flooding while you work.
Is DIY light fixture removal safe for beginners?
DIY light fixture removal is safe for cautious beginners when basic rules are followed: always shut off power at the breaker, confirm with a voltage tester, and avoid complex or outdated wiring systems. When in doubt about what you see behind the fixture, stop and consult a licensed electrician.
Ready to start your DIY fixture removal project?
With careful planning and a focus on safety, fixture removal is one of the most accessible ways to upgrade your home while keeping more money in your pocket. Start small with a faucet or simple light, follow the step-by-step guidance above, and build your confidence. When you’re ready to take on your next project, you can reuse these same principles to remove bigger fixtures and prep your space like a pro.
If you’d like, share what fixture you’re planning to remove, and I can outline a tailored, step-by-step plan with a custom tool list so you can begin your DIY transformation safely and economically.
Junk Guys San Diego
Phone: 619-597-2299
Website: www.junkguyssd.com
Email: junkguyssd619@gmail.com