Winning more jobs in competitive markets often comes down to one thing: how well you handle the onsite estimate. Homeowners and commercial clients alike make fast judgments based on your professionalism, clarity, and pricing accuracy during that visit. A sloppy estimate loses trust—and jobs. A sharp, systemized approach turns more site visits into signed contracts.
This guide walks you through a complete onsite estimate checklist you can use to standardize your process, price confidently, and close more work.
Why a Strong Onsite Estimate Process Wins More Jobs
An onsite estimate is more than a number on a page. It’s your chance to:
- Build trust through face-to-face interaction
- Clarify the real scope and conditions of the job
- Position yourself as a pro, not “just another contractor”
- Avoid costly mistakes and change orders later
When your onsite estimate process is organized and repeatable, you:
- Reduce underbidding and surprise costs
- Present clearer, more professional proposals
- Spend less time revisiting jobs and rewriting estimates
- Improve your close rate and average job value
Think of your checklist as a tool that protects your profit and your reputation.
Step 1: Pre-Visit Preparation
A great onsite estimate actually starts before you arrive.
Confirm Details and Expectations
Before you step foot on the property:
- Confirm the appointment time and who will be present
- Verify the address and parking/access details
- Ask for photos or videos of the area, if helpful
- Clarify what type of work they’re interested in and their rough timeline
Use this information to tailor your onsite estimate questions and avoid surprises.
Research and Pre-Qualify
If possible:
- Look up the property online (Google Maps, listing photos, lot size)
- Check zoning or HOA restrictions relevant to your trade
- Get a rough idea of material availability or current lead times
This prep allows you to provide more realistic pricing and timelines during the estimate.
Step 2: Essential Tools for Every Onsite Estimate
Showing up prepared sends a powerful signal. At minimum, bring:
- Measuring tools: tape measure, laser measure, wheel (for larger sites)
- Safety gear: PPE appropriate for your trade and site conditions
- Documentation tools: clipboard, notebook, or tablet with estimate software
- Reference materials: pricing templates, spec sheets, sample photos
- Business materials: business cards, brochures, or a service guide
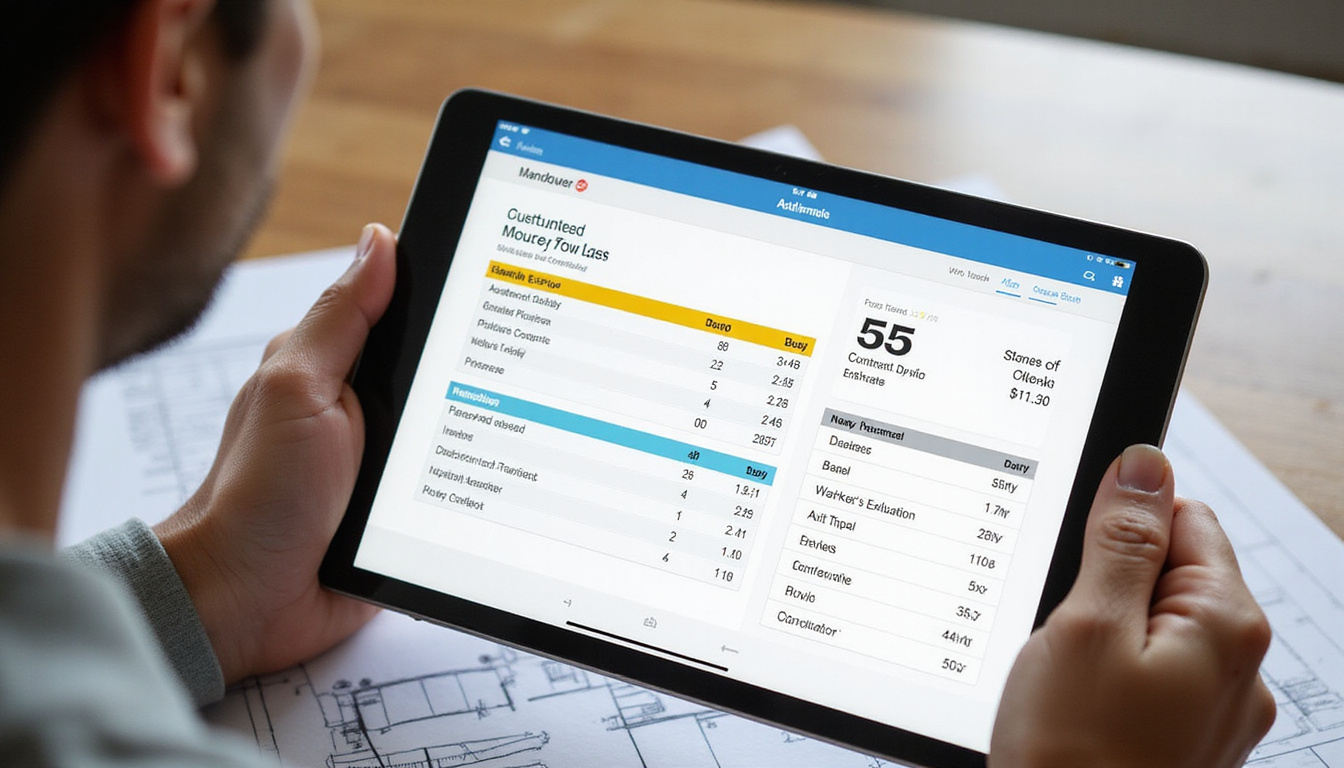
If you use estimating or field software (like Jobber, Housecall Pro, or ServiceTitan), ensure it’s updated with your latest price lists and templates so you can capture accurate data on the spot.
Step 3: Professional Arrival and First Impressions
The onsite estimate starts the moment the client sees you.
Present Yourself as a Pro
- Arrive on time or a few minutes early
- Park thoughtfully (not blocking driveways or mailboxes)
- Wear clean, branded clothing if available
- Greet the client respectfully and introduce yourself and your role
People often decide within minutes whether they trust you. A professional demeanor lays the groundwork for your pricing to be taken seriously.
Restate the Purpose and Process
Set expectations upfront:
“Thanks for having me out. Today I’ll walk through the space with you, take some measurements, ask a few questions, and then I’ll either give you a rough price range on the spot or follow up with a detailed estimate by [timeframe]. Does that work for you?”
This simple script reassures the client and makes the onsite estimate feel structured, not ad-hoc.
Step 4: Discovery – Ask the Right Questions
Before you jump into measuring, understand what the client really wants. Good questions prevent scope creep and misalignment later.
Clarify Scope and Priorities
Ask questions like:
- What’s the main problem you’re trying to solve?
- Is this a must-fix or a nice-to-have project?
- Are there any areas you’re particularly concerned about?
- What’s your ideal completion date? Are there any deadlines?
- Have you gotten other estimates yet? If so, what did they include?
These questions help you tailor your onsite estimate to their priorities (speed, price, quality, appearance, etc.).
Explore Budget and Decision Process (Tactfully)
You don’t need an exact number, but a range helps:
- “Do you have a budget range in mind for this project?”
- “Who else will be involved in making the final decision?”
- “What’s most important to you: speed, price, or long-term durability?”
Clients who share a budget range and decision timeline are much more likely to move forward quickly.
Step 5: Site Inspection and Data Collection
This is where the accuracy of your onsite estimate is made or broken.
Inspect Thoroughly
Walk the site systematically. For each relevant area:
- Note existing conditions and any visible damage
- Look for access issues (tight spaces, stairs, overhead lines, etc.)
- Identify obstacles that may require extra time or equipment
- Document any code, safety, or permitting concerns
Take plenty of photos and short videos. They’re invaluable later when you’re building the estimate or explaining costs.
Measure and Record Everything
For a reliable onsite estimate:
- Use consistent measurement methods each time
- Record dimensions, quantities, and material types carefully
- Note utility locations (water, gas, electrical)
- Capture environmental factors (slope, drainage, exposure, etc.)
Don’t rely on memory. A standardized data sheet or digital form keeps your estimates consistent across jobs and team members.
Step 6: Build a Repeatable Onsite Estimate Checklist
Here’s a sample structure you can adapt to your trade:
-
Client & Project Info
- Client name, contact, and address
- Type of property (residential/commercial)
- Project description and goals
-
Access & Constraints
- Parking and equipment access
- Working hours restrictions
- HOA or neighborhood rules
-
Existing Conditions
- Structural condition
- Utilities and infrastructure
- Visible damage, hazards, or code issues
-
Measurements & Quantities
- Linear feet, square footage, or unit counts
- Material types and thicknesses
- Height/levels and slopes
-
Labor & Equipment Needs
- Estimated crew size and days
- Special equipment required (lifts, scaffolding, trenchers)
-
Materials & Specifications
- Material options (good/better/best)
- Manufacturer or model preferences
- Lead times or special orders
-
Risks & Unknowns
- Hidden conditions that might affect price
- Weather or seasonal factors
- Permits, inspections, and fees
-
Client Preferences
- Budget range
- Aesthetic choices (colors, finishes)
- Priority: speed vs. cost vs. longevity
By using the same onsite estimate checklist every time, you reduce oversights and build a database of comparable jobs that improves your future pricing.
Step 7: Pricing: From Raw Data to Accurate Numbers
Accurate pricing is part science, part art—but the more systematic you are, the less guesswork you need.
Use Historical Data When Possible
Look at:
- Similar past jobs and their actual costs
- Variance between your original onsite estimate and final profit
- Labor hours versus your expectations
If you don’t track job costing yet, start now. Even basic spreadsheets help you refine your pricing over time (source: U.S. Small Business Administration).
Break Down the Estimate Components
For each project, clearly calculate:
- Labor: hours per task × hourly rate (including overhead and burden)
- Materials: quantities × cost (including waste and price fluctuations)
- Equipment: rentals, fuel, maintenance allocations
- Subcontractors: confirmed quotes with your margin applied
- Overhead & Profit: a consistent markup that sustains your business
Avoid “gut feel” totals. Your onsite estimate should be traceable back to clear quantities and rates.
Step 8: Presenting the Onsite Estimate to the Client
How you present the number matters as much as the number itself.
Provide Clear, Structured Proposals
Even if you don’t finalize the full quote onsite, your written proposal should:
- Restate the problem you’re solving
- Summarize the scope in plain language
- Break down major components (labor, materials, key options)
- Clarify what is and is not included
- Outline payment schedule and change-order policy
Clarity builds confidence. Confusing or vague proposals invite price shopping and disputes.
Offer Options, Not Just One Price
When possible, present 2–3 options:
- Basic / Standard / Premium
- Different materials or finishes
- Phased approaches (now vs. later work)
This helps clients anchor your pricing and choose what fits them, rather than simply comparing your single price to a competitor’s.
Address Common Concerns Upfront
Use your onsite estimate visit to preempt objections:
- “How long will it take?”
- “What kind of disruption should we expect?”
- “What happens if you find something unexpected?”
Clear, confident answers position you as the safe, professional choice—even if you’re not the cheapest.
Step 9: Follow-Up: Turn Estimates Into Signed Jobs
Many contractors lose jobs not because of price, but because they don’t follow up effectively.
Set Expectations Before You Leave
Before leaving the site:
- Confirm when they will receive the full written estimate
- Ask when they expect to make a decision
- Ask their preferred communication method (email, text, call)
This makes your follow-up feel helpful, not pushy.
Use a Simple Follow-Up Sequence
After sending the estimate:
- Day 1–2: Confirm receipt and answer immediate questions
- Day 3–5: Ask if they’d like to review options or clarify anything
- Day 7–10: Check in on their decision timeline and remind them of scheduling constraints (e.g., “We’re booking 2–3 weeks out right now”)
Consistent, polite follow-up dramatically improves your close rate from each onsite estimate.
Step 10: Track and Improve Your Onsite Estimate Performance
A checklist is only the beginning. To truly win more jobs:
- Track how many estimates turn into jobs
- Compare estimated vs. actual labor and materials
- Note recurring issues (missed items, underestimated time, common add-ons)
- Refine your checklist and pricing templates based on real data
Even small improvements (like adding a standard line item you often forget, or adjusting labor assumptions) can add thousands of dollars to your bottom line each year.
FAQ: onsite estimates and Accurate Pricing
Q1: How long should an onsite estimate take?
It depends on the project size, but most residential onsite estimates take 30–90 minutes. The key is to take enough time to inspect properly, ask questions, and gather data without rushing. For complex or commercial work, a multi-visit or team-based onsite estimate process may be necessary.
Q2: Should I charge for an onsite estimate?
Some contractors offer free onsite estimates for standard jobs and charge a fee for extensive consultations, design work, or inspections. If you do charge, clearly explain what’s included (e.g., detailed report, design concepts, credit toward the job) so clients see the value.
Q3: How detailed should my onsite estimate be?
Your onsite estimate should be detailed enough to avoid surprises and change orders, but not so technical that clients get lost in line items. Aim for clear descriptions of major phases, materials, and assumptions, and be explicit about what’s excluded. More detail is typically better for larger, higher-risk projects.
A strong onsite estimate process is one of the most powerful levers you have to win better work, protect your margins, and grow your reputation. When you arrive prepared, follow a proven checklist, price based on real data, and present clear options, clients feel confident saying “yes” to you—even if you’re not the lowest bid.
Put this onsite estimate checklist into practice on your next visit: refine it for your trade, train your team on it, and track the results. If you’d like help turning this framework into custom forms, templates, or scripts for your business, reach out today and start converting more site visits into profitable, long-term customers.
Junk Guys San Diego
Phone: 619-597-2299
Website: www.junkguyssd.com
Email: junkguyssd619@gmail.com